LG T1700 Dryer Drums Wont Rotate Simple Solutions
When an LG T1700 dryer stops spinning its drum, the cycle halts, the timer shows an error, or the drum simply sits still, the frustration can feel overwhelming. The culprit is rarely the motor itself; often the problem lies in one of the components that allow the drum to rotate or the controls that signal the motor to run. By following a structured troubleshooting routine, most homeowners can identify and fix the issue without dispatching a technician.
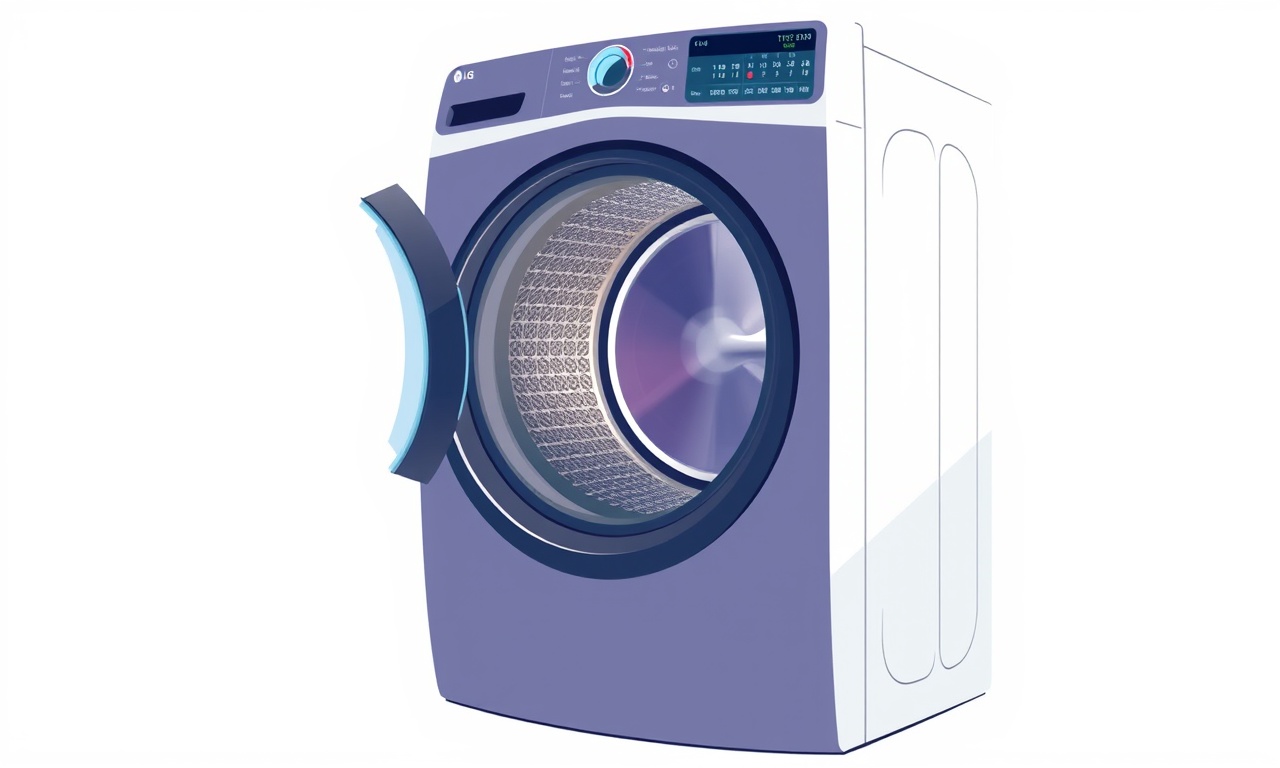
Understanding the Drum‑Rotation System
The LG T1700 uses a belt‑driven system to spin its drum. The motor’s shaft drives a pulley; a rubber belt transmits that motion to a second pulley attached to the drum. When the belt is secure and the pulleys are aligned, the drum turns smoothly. Two additional systems work in tandem: the idler pulley that keeps the belt under tension, and the drum motor itself. If any one of these components is damaged, misaligned, or missing, the drum will fail to turn.
Key Components
- Motor – Converts electrical energy into rotational force.
- Primary Pulley – Attached to the motor shaft.
- Secondary Pulley – Mounted on the drum.
- Belt – Connects the two pulleys.
- Idler Pulley – Maintains belt tension.
- Control Board – Sends the motor run signal and monitors performance.
- Safety Switches – Prevent operation if the door is open or the load is imbalanced.
A simple picture of a typical dryer layout helps visualise where each part sits.
Typical Symptoms and What They Mean
| Symptom | Likely Cause |
|---|---|
| Drum stays stationary while the dryer runs | Belt snapped or slipped, motor not receiving power, control board fault |
| Drum turns slowly or irregularly | Belt worn or damaged, idler pulley misaligned |
| Dryer makes a high‑pitched noise | Motor bearing failure, belt slipping |
| Error code appears (e.g., E12, E16) | Control board issue, door latch fault |
| No noise or motor click at all | Motor disconnected, fuse blown |
By matching the symptom to a potential cause, you can target the right component for inspection.
Safety First
Before you open the dryer or touch any components:
- Unplug the unit from the outlet.
- If the dryer is hard‑wired, switch off the circuit breaker.
- Wait at least five minutes for capacitors to discharge.
- Wear safety glasses and gloves to protect against sharp edges and hot surfaces.
Skipping these steps can lead to electric shock or injury.
Step‑by‑Step Troubleshooting Guide
1. Verify the Motor is Getting Power
- Check the outlet: Use a multimeter or a voltage tester to confirm 240 V is present.
- Test the motor connector: Disconnect the motor’s plug, then test the two leads for voltage while the dryer is cycling.
- Look for visible damage: Burn marks or melted insulation indicate a short or overload.
If the motor is not receiving power, the problem may be the power supply or a disconnected cable. In most cases, a loose connection will be the culprit.
2. Inspect the Belt
- Open the dryer door and pull the front panel to expose the belt.
- Examine the belt for cracks, fraying, or missing segments.
- Check if the belt is still on both pulleys. A snapped belt will be obvious.
If the belt is damaged, replace it with a model‑specific belt (check the owner’s manual for part number).
3. Check the Idler Pulley
- Gently turn the idler pulley by hand. It should rotate freely.
- If it’s stiff or grinding, the bearing may have failed.
- Also look for any obstruction that could block the belt.
A worn idler pulley often causes the belt to slip or break. Replacement is inexpensive.
4. Test the Drum Motor
- With the dryer unplugged, manually turn the drum. It should spin smoothly.
- Re‑attach the motor and let the dryer run a short cycle.
- Listen for unusual noises. A squealing sound often means the motor bearing needs lubrication or replacement.
If the motor turns but the drum does not, the belt or pulley system is likely at fault.
5. Examine the Control Board
- Look for burn marks or a burnt smell around the control board.
- Verify that the motor control relay is functioning. Use a multimeter to test the relay contacts while the dryer is running.
- If the board shows no visible damage, consider re‑installing it to ensure a tight connection.
A faulty control board may intermittently disable the motor, preventing rotation.
6. Verify Door Switch and Latch
- Open and close the door to ensure the latch engages firmly.
- Use a multimeter to test continuity on the door switch. It should read close when the door is shut.
- A broken latch or switch can cause the dryer to stop prematurely.
Fixing the latch is usually a simple mechanical adjustment or replacement.
7. Inspect for Obstructions
- Remove any lint buildup around the drum’s interior. Excess lint can bind the drum.
- Check the drum’s support rollers. If they are damaged or misaligned, the drum may not rotate.
Cleanliness and proper alignment are key to smooth operation.
8. Examine the Dryer’s Mechanical Seals
- Over time, rubber seals can dry out and crack, leading to a loss of belt tension.
- Replace any damaged seals to restore proper belt tension.
9. Reset the Dryer
- After making any fixes, unplug the dryer, wait 30 seconds, then plug it back in.
- Run a short cycle to confirm the drum rotates.
Resetting can clear temporary error codes on the control board.
Common Fixes and Replacement Parts
| Issue | Quick Fix | Replacement Part |
|---|---|---|
| Belt snapped | Replace belt | LG T1700 belt (part #) |
| Idler pulley worn | Replace pulley | LG T1700 idler pulley |
| Motor not running | Check wiring, relays | LG T1700 motor assembly |
| Door latch broken | Tighten or replace latch | LG T1700 door latch |
| Control board fault | Re‑install or replace board | LG T1700 control board |
Always verify the part number against your dryer model before purchasing.
When DIY is Not Enough
If the troubleshooting steps above do not resolve the problem, the issue may be deeper:
- Motor winding failure – Requires a professional to test and replace.
- Control board short – Often necessitates specialized equipment for diagnosis.
- Severe mechanical damage – Such as a cracked drum bearing, which is best handled by a technician.
In these cases, contact a licensed appliance repair service.
Preventative Maintenance Tips
Regular care can prevent many drum‑rotation failures:
- Clean the lint filter after every load.
- Vacuum the vent hose every 6–12 months.
- Inspect the belt yearly for wear.
- Lubricate the idler pulley according to the manufacturer’s guidelines.
- Check the door latch monthly to ensure proper closure.
Adhering to these habits keeps the drum turning reliably and extends the dryer’s lifespan.
Common Questions
What should I do if the dryer makes a squealing noise but the drum still doesn’t rotate?
A squealing sound usually points to a worn drum bearing or motor bearing. If the drum can’t turn, it’s often a motor issue; test the motor as described earlier.
Can I use a different type of belt?
No. Using a belt not designed for the T1700 can damage the motor and cause premature wear. Stick to the manufacturer’s recommended belt.
Will a new control board solve a drum‑rotation problem?
Only if the board was the source of the issue. First confirm the board is indeed faulty before replacing it.
Summary
A non‑rotating drum on an LG T1700 dryer usually signals a simple, replaceable issue. By methodically checking the power supply, belt, idler pulley, motor, control board, door latch, and mechanical seals, most homeowners can restore operation with minimal expense. Remember to observe all safety precautions, clean the dryer regularly, and keep a spare belt and idler pulley on hand.
If all else fails, professional assistance is the safest route. With the right knowledge and tools, you can keep your dryer humming and your laundry drying without interruption.
Discussion (6)
Join the Discussion
Your comment has been submitted for moderation.
Random Posts

Reassessing the Audio Jack Dropout on LG Velvet 2
Explore why the LG Velvet 2's 3.5mm jack glitches, what triggers audio dropouts, user fixes, and LG's stance: essential insight for current and future Android phones.
1 year ago

Philips HP700 Fan Stalls Quietly Even At Low Speed Why This Happens And What To Do
Discover why your Philips HP700 quietly stalls at low speed, spot early signs, and fix the issue to keep steady airflow.
2 weeks ago

How to Stop Sharp LC-40M from Producing Audio Sync Issues While Gaming
Fix your Sharp LC-40M so game audio stays in sync. Learn quick settings tweaks, cable checks, and audio-output fixes that keep sound matching action for a flawless gaming experience.
6 months ago

Solve Arlo Pro 4 Wireless Connection Problems
Discover quick fixes for offline Arlo Pro 4 cameras. Check power, Wi, Fi, firmware, reset steps, and more get your live feed back up fast.
4 months ago

Panasonic D45 Dryer Timer Skips Final Drying Cycle
Discover why your Panasonic D45 dryer skips its final cycle, learn the symptoms, root causes, and easy fixes to keep clothes dry, save energy, and avoid extra runs.
5 months ago
Latest Posts

Fixing the Eufy RoboVac 15C Battery Drain Post Firmware Update
Fix the Eufy RoboVac 15C battery drain after firmware update with our quick guide: understand the changes, identify the cause, and follow step by step fixes to restore full runtime.
5 days ago

Solve Reolink Argus 3 Battery Drain When Using PIR Motion Sensor
Learn why the Argus 3 battery drains fast with the PIR sensor on and follow simple steps to fix it, extend runtime, and keep your camera ready without sacrificing motion detection.
5 days ago

Resolving Sound Distortion on Beats Studio3 Wireless Headphones
Learn how to pinpoint and fix common distortion in Beats Studio3 headphones from source issues to Bluetooth glitches so you can enjoy clear audio again.
6 days ago