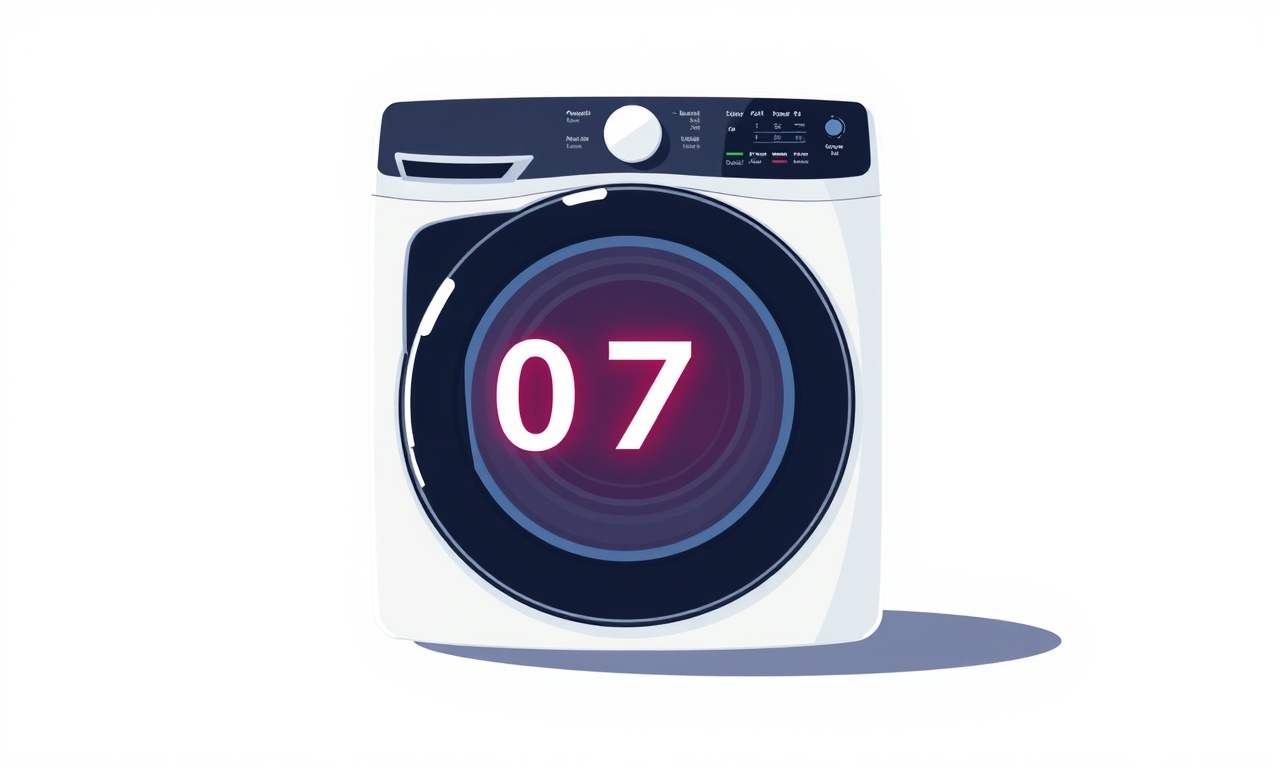
Maytag MHD60 Dryer Shows Error Code 07 How to Resolve
Introduction
A dry, wrinkle‑free load is one of the most satisfying parts of doing laundry. When a Maytag MHD60 dryer stops working or flashes an error code, it can feel like an unsolvable mystery. One of the most common and confusing codes that appears on this model is Error Code 07. If you see that two‑digit code glowing on the control panel, the dryer will halt its operation and refuse to start again until the issue is addressed.
This guide is written for homeowners, DIY enthusiasts, and anyone who wants a clear, step‑by‑step path to diagnosing and resolving Error Code 07 on a Maytag MHD60 dryer. We will cover what the code means, why it appears, how to fix it, and how to prevent it from coming back.
Understanding Error Code 07
The Error Code 07 on a Maytag MHD60 dryer indicates a problem with the vent or lint sensor system. The dryer’s internal electronics detect a blockage or excessive lint buildup and trigger this code as a safety measure. The code is not a single fault but a generic alert that something is obstructing airflow or preventing proper drying.
Typical triggers include:
- Vent duct blockage (closed vent cap, clogged duct, kinked hose)
- Lint filter stuck or covered with debris
- Lint sensor failure (dirty or misaligned sensor)
- Excessive lint inside the drum that is not being expelled
Because the dryer uses hot air and venting to remove moisture, any obstruction can create dangerous conditions: over‑heating, fire risk, and inefficient drying. That is why the dryer automatically stops when it detects the problem.
Common Causes of Error Code 07
Below are the most frequent culprits that trigger the 07 code. Understanding each will help you focus your troubleshooting.
1. Clogged Lint Filter
The lint filter is the first line of defense. If it is full, the dryer cannot vent properly, and the airflow sensor registers a blockage.
2. Blocked or Kinked Vent Duct
The vent system extends from the dryer to the outside. Any bend, kink, or obstruction (e.g., pet hair, paper, debris) can impede airflow.
3. Dirty Lint Sensor
Inside the dryer, a small sensor monitors the lint flow. Over time, lint accumulates on this sensor, leading to false blockage detection.
4. Improper Vent Cap Placement
If the vent cap is not securely fastened or is turned in the wrong direction, it can block exhaust.
5. Excess Lint Inside the Drum
Sometimes lint gathers in hard‑to‑reach corners of the drum or the drum’s interior surface, especially if a bag of lint is left inside for an extended period.
6. Faulty Lint Sensor or Electronics
A defective sensor or a failing electronic control board may mistakenly trigger the error.
Step‑by‑Step Troubleshooting Guide
Below is a systematic approach to diagnosing and clearing Error Code 07. Follow the steps in order; usually, the solution is found in the first few.
Step 1 – Power Down and Safety Check
- Unplug the dryer from the electrical outlet or turn off the circuit breaker.
- Let the dryer cool completely (at least 15 minutes) to avoid burns.
- Inspect the area around the dryer for any obvious obstructions or debris.
Step 2 – Clean the Lint Filter
- Locate the lint filter at the top front of the dryer door.
- Remove the filter and discard the lint.
- Wash the filter with warm, soapy water and let it dry fully.
- Reinstall the filter and ensure it sits flush.
If the filter was clogged, this alone may clear the error.
Step 3 – Inspect the Vent Duct
- Disconnect the vent hose from the dryer and the wall vent.
- Inspect the hose for kinks, bends, or buildup.
- Use a vent cleaning brush or a long, flexible vacuum attachment to remove lint from the inside of the hose.
- Check the exterior vent (the metal or plastic grille) for clogs.
- Re‑attach the vent securely, ensuring the hose is straight and without kinks.
A clean vent is critical for proper airflow.
Step 4 – Check the Vent Cap
- Confirm the vent cap is turned so the exhaust flows outwards (usually indicated by a arrow on the cap).
- Tighten any screws or clamps that secure the cap to prevent leaks.
Step 5 – Clean the Lint Sensor
- Locate the lint sensor inside the dryer cabinet, near the vent duct connection.
- Remove any lint or debris that has accumulated on or around the sensor.
- Use a damp cloth to wipe the sensor gently; avoid touching the electrical contacts.
- Allow the sensor area to dry completely before proceeding.
Step 6 – Verify the Drum’s Interior
- Look for lint buildup in the drum’s corners or the door seal.
- Use a damp cloth or a small vacuum to clean any trapped lint.
Step 7 – Reset the Dryer
- Plug the dryer back in or switch the breaker on.
- Press the Start button while holding down the Reset button (if present) for 3–5 seconds.
- Observe the control panel; if Error Code 07 disappears, the issue is resolved.
Step 8 – Test a Drying Cycle
- Load a small, typical laundry load.
- Run the dryer on a standard setting.
- Monitor for any error codes or abnormal behavior.
Maintenance Tips to Keep Error Code 07 at Bay
Even after you have fixed the problem, regular maintenance can prevent the 07 error from recurring.
- Clean the lint filter after every load.
- Check the vent hose annually and clean it if lint accumulates.
- Inspect the vent cap at least once a year to ensure it is properly oriented.
- Run a lint cleaning cycle (if your model has one) every 3–6 months.
- Avoid overloading the dryer; too many garments can trap lint.
- Use dryer sheets to reduce static, which can help lint cling less to the fabric.
- Keep the area around the dryer clear of flammable items.
When to Call a Professional
If you have followed the troubleshooting steps and Error Code 07 persists, it is time to seek professional help. A licensed appliance technician can:
- Test the electrical connections and the control board for faults.
- Inspect the heat exchanger for damage or buildup that may trigger safety codes.
- Verify that the thermal fuse and other safety devices are functioning.
- Replace faulty components such as the lint sensor or control board.
Additionally, if you notice signs of overheating, strange smells, or a burning sensation, do not attempt to operate the dryer until a professional has inspected it. Safety first.
Frequently Asked Questions
Does Error Code 07 mean my dryer is broken?
Not necessarily. It usually points to a venting issue, which is often easy to correct. However, persistent errors may indicate a deeper electrical fault.
Can I ignore Error Code 07?
No. The code is a safety feature designed to prevent overheating and fire. Ignoring it can endanger your home and family.
How often should I replace the lint filter?
Replace the filter physically only if it becomes damaged. However, clean it after every load and inspect it at least once a month.
What if my vent is outside a wall?
Ensure the vent extension is long enough and has a heat‑resistant shield. Use a vent cap rated for outdoor use.
Can I use a vacuum cleaner to clean the vent hose?
Yes, a long‑neck vacuum can be effective. Avoid using a regular household vacuum that is not vent‑safe, as it can generate heat that melts the hose.
Conclusion
Error Code 07 on a Maytag MHD60 dryer is a clear signal that airflow is compromised. By following the systematic steps above—cleaning the lint filter, inspecting and clearing the vent duct, checking the vent cap, and cleaning the lint sensor—you can resolve most occurrences of this error. Regular maintenance and prompt attention to any signs of obstruction will keep your dryer running efficiently and safely.
If the problem remains after thorough cleaning, do not hesitate to call a qualified appliance repair professional. Your dryer is a crucial part of your household; keeping it in good working order ensures peace of mind, time savings, and reduced energy costs.
Discussion (7)
Join the Discussion
Your comment has been submitted for moderation.
Random Posts

Addressing Apple iPhone 14 Pro Max Battery Drain During Gaming Sessions
Learn why iPhone 14 Pro Max batteries drain during gaming, how to diagnose the issue, and practical tweaks to keep you playing longer with less power loss.
5 months ago

Curing iPhone 14 Plus Charging Port Wear After Daily Fast Charge Cycles
Fast charging can loosen your iPhone 14 Plus port. Learn to spot slow charging and loose cables, then fix it with simple home tricks or long, term prevention.
6 months ago
Xiaomi Mi SmartGlasses 3 Eye Tracking Error Fix
Fix the eye, tracking issue on Mi SmartGlasses 3 with this step, by, step guide to diagnose, clear errors, and restore functionality without repair.
1 year ago

Overcoming Sony X900H Color Saturation Drift During HDR Playback
Discover how to spot and fix color saturation drift on your Sony X900H during HDR playback, tune settings, correct HDR metadata, and keep your scenes vivid and natural.
4 months ago

Remediating Signal Dropout on Bowers & Wilkins PX8 Noise Cancelling Headphones
Discover why the Bowers & Wilkins PX8 may drop sound and how to fix it by tackling interference, low battery, outdated firmware, obstacles and Bluetooth settings for uninterrupted audio
1 week ago
Latest Posts

Fixing the Eufy RoboVac 15C Battery Drain Post Firmware Update
Fix the Eufy RoboVac 15C battery drain after firmware update with our quick guide: understand the changes, identify the cause, and follow step by step fixes to restore full runtime.
5 days ago

Solve Reolink Argus 3 Battery Drain When Using PIR Motion Sensor
Learn why the Argus 3 battery drains fast with the PIR sensor on and follow simple steps to fix it, extend runtime, and keep your camera ready without sacrificing motion detection.
5 days ago

Resolving Sound Distortion on Beats Studio3 Wireless Headphones
Learn how to pinpoint and fix common distortion in Beats Studio3 headphones from source issues to Bluetooth glitches so you can enjoy clear audio again.
6 days ago