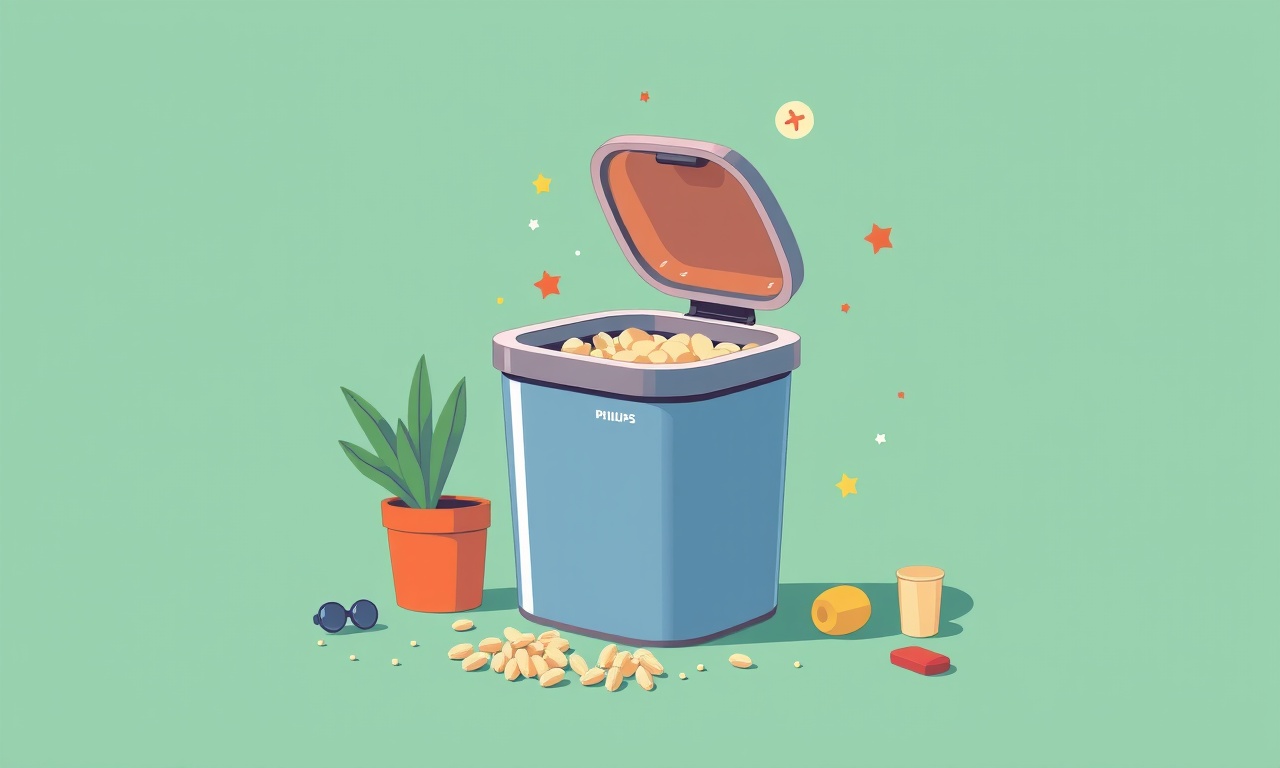
Overhauling Dustbin Filter for Philips PowerPro Compact
Keeping Your Philips PowerPro Compact Running Smoothly: The Dustbin Filter Guide
Vacuuming is more than a chore; it’s an essential part of keeping indoor air clean and surfaces free of allergens. The Philips PowerPro Compact is designed for quick, effective cleaning in tight spaces, and its performance relies heavily on one critical component: the dustbin filter. Over time, dust, pet hair, and debris clog this filter, forcing the machine to work harder and reducing suction power. Regular maintenance and timely replacement are therefore essential.
Below is a comprehensive guide that walks you through the entire process of overhauling the dustbin filter on a Philips PowerPro Compact. From the tools you’ll need to troubleshooting common issues, this step‑by‑step tutorial ensures your vacuum remains in top condition for years to come.
Why the Dustbin Filter Matters
The dustbin filter serves several purposes:
- Air Quality Control – It traps fine particles that would otherwise be released back into the room.
- Suction Preservation – A clean filter keeps airflow smooth, maintaining optimal suction.
- Component Protection – By preventing debris from reaching the motor and other parts, the filter extends the vacuum’s lifespan.
Neglecting the filter can lead to reduced cleaning performance, higher energy consumption, and even potential damage to the motor. By performing a quick overhaul, you avoid costly repairs and maintain a healthier living space.
Overview of the Philips PowerPro Compact Filter System
The PowerPro Compact’s filter system is simple but highly effective. It consists of:
- Primary Dustbin – The main collection container where loose dirt is stored.
- Secondary Filter – A built‑in fine‑dust filter that traps microscopic particles.
- Replaceable Filter Cartridge – An additional filter that can be swapped out as part of routine maintenance.
The cartridge is typically a small, rectangular unit that slides into the dustbin. Its design allows for easy removal and cleaning, or replacement when the filter material becomes saturated.
What You’ll Need
Before you start, gather the following items:
- Replacement filter cartridge (specific to Philips PowerPro Compact)
- Soft brush or vacuum‑cleaner brush attachment
- Mild soap or detergent
- Warm water
- Clean towel or microfiber cloth
- Small bucket or container
- Optional: compressed air canister (for stubborn dust)
Having everything ready saves time and prevents you from interrupting the process midway.
Step‑by‑Step Overhaul Procedure
1. Power Off and Unplug
Safety first. Ensure the vacuum is switched off, the power cord is unplugged, and the unit is sitting on a stable surface.
2. Access the Dustbin
Locate the dustbin lid, usually found on the side or front of the vacuum. Open it gently and lift the dustbin out of the main housing. Some models have a small latch; release it before removal.
3. Remove the Old Cartridge
The filter cartridge sits in a small slot inside the dustbin. Gently pull it out. You may notice a layer of dust clinging to the cartridge’s surface.
4. Clean the Dustbin Interior
Using the soft brush attachment, sweep away loose debris from the dustbin walls. This step prevents dirt from mixing with the new filter.
If you have a compressed air canister, a short burst directed at the dustbin’s interior can remove fine particles. Be careful not to blow debris back into the motor chamber.
5. Wash the Cartridge (If Reusable)
Many PowerPro Compact models use a washable filter cartridge. Place it in a bucket of warm, soapy water. Gently agitate the cartridge with your hands or a brush, ensuring all sides are rinsed.
After rinsing, let the cartridge sit for 10 minutes to allow soap residue to loosen any remaining dust.
Note: If your model’s cartridge is not washable, skip this step and proceed to replace it with a new one.
6. Rinse Thoroughly
Rinse the cartridge under running water to remove all soap. A clear rinse ensures no detergent remains that could irritate the air you breathe later.
7. Dry Completely
Lay the cartridge on a clean towel or cloth. Pat it dry with another towel. Avoid air‑drying for extended periods, as moisture can attract new dust quickly.
8. Reinstall the Cartridge
Insert the freshly cleaned or new cartridge back into its slot. Ensure it is seated correctly; a loose cartridge may leak dust during operation.
9. Reassemble the Dustbin
Place the dustbin back into the main housing, aligning the latch or fastening mechanism. Close the lid securely.
10. Test the Vacuum
Plug the vacuum back in, turn it on, and let it run for a few seconds. Observe whether the suction feels normal. If it seems sluggish, double‑check that the cartridge is seated properly and that the dustbin is fully sealed.
Tips for Maintaining a Clean Filter
- Regular Checks – Inspect the filter after every 20–30 uses, or monthly if you have pets or a high‑dust environment.
- Quick Clean – A quick rinse with soap and water can keep the filter functioning between full overhauls.
- Use the Right Cartridge – Always replace with a cartridge that matches your vacuum’s specifications.
- Avoid Overfilling – Keep the dustbin below 80% capacity; overfilling forces dust through the filter.
Common Issues and How to Resolve Them
| Problem | Likely Cause | Quick Fix |
|---|---|---|
| Suction is low | Filter clogged | Clean or replace cartridge |
| Noise increases | Dust blocked motor | Check dustbin and filter for obstruction |
| Air leaks | Improperly seated cartridge | Re‑install cartridge firmly |
| Vacuum turns off prematurely | Power cord damage | Inspect cord, replace if frayed |
If your vacuum still fails to perform after following the steps above, consult the Philips customer support website or contact a qualified technician.
Preventive Maintenance Checklist
| Item | Frequency |
|---|---|
| Check filter condition | After each vacuum run |
| Clean dustbin interior | Every 2–3 uses |
| Rinse washable cartridge | Every 4–6 weeks |
| Replace non‑washable cartridge | Every 3 months |
| Inspect power cord | Quarterly |
Keeping this checklist handy ensures you stay on top of all necessary maintenance tasks.
Frequently Asked Questions
Q: Can I use a generic filter cartridge?
A: It’s best to use a Philips‑approved cartridge. Generic filters may not fit properly and could compromise suction.
Q: How long does a washable cartridge last?
A: With regular cleaning, a washable cartridge can last up to a year. If you notice reduced suction, replace it sooner.
Q: Is it safe to use hot water?
A: Use warm water only. Hot water can damage the filter’s material and reduce its lifespan.
Q: What if the dustbin is full of pet hair?
A: Use a comb or brush attachment specifically designed for pet hair before performing the filter overhaul. Pet hair can quickly clog the filter.
Final Thoughts
Maintaining the dustbin filter on your Philips PowerPro Compact is a simple yet vital task. By dedicating a few minutes every few weeks to cleaning or replacing the cartridge, you ensure that your vacuum operates at peak efficiency, protects your indoor air quality, and prolongs the lifespan of the machine. Follow the steps outlined above, keep your filter in top shape, and enjoy a cleaner, healthier living space.
Discussion (10)
Join the Discussion
Your comment has been submitted for moderation.
Random Posts

Maytag M2011 Microwave Error Code 12, Troubleshooting Tips
Error Code 12 on a Maytag M2011 signals a power or high voltage fault. Follow a step by step guide to inspect the transformer, diode, and connections, and restore your microwave without costly repairs.
4 weeks ago

Strategy to Avoid Unresponsive Power Button on Sonoff Smart Plug S40
Keep your Sonoff S40 button responsive by learning why it fails and how to prevent it with simple care, firmware updates, and smart habits.
1 year ago

AVer CAM3400 Microphone Silences Voice When Using Zoom
Find out why your AVer CAM3400 mic cuts out on Zoom, learn step-by-step fixes, and know when to call a pro to keep your audio loud and clear.
9 months ago

Correcting a Fan Speed Oscillation on the Lasko LS7500 Tower Heater
Learn how to stop the Lasko LS7500 fan from wavering by clearing dust, checking bearings and tightening connections, simple steps that restore steady heat and prolong your heater’s life.
9 months ago

Fix Sony SmartCam Indoor Noise Interference
Discover why your Sony SmartCam hisses, crackles, or distorts indoors, learn to spot power, cord and wireless culprits, and fix the noise with simple, lasting solutions.
3 weeks ago
Latest Posts

Fixing the Eufy RoboVac 15C Battery Drain Post Firmware Update
Fix the Eufy RoboVac 15C battery drain after firmware update with our quick guide: understand the changes, identify the cause, and follow step by step fixes to restore full runtime.
5 days ago

Solve Reolink Argus 3 Battery Drain When Using PIR Motion Sensor
Learn why the Argus 3 battery drains fast with the PIR sensor on and follow simple steps to fix it, extend runtime, and keep your camera ready without sacrificing motion detection.
5 days ago

Resolving Sound Distortion on Beats Studio3 Wireless Headphones
Learn how to pinpoint and fix common distortion in Beats Studio3 headphones from source issues to Bluetooth glitches so you can enjoy clear audio again.
6 days ago