Reassembling a Detached Door Latch on Speed Queen SQ1M
Getting a Speed Queen SQ1M washing machine to work again after the door latch detaches can feel like a big challenge. However, with the right tools, a clear sequence of steps, and a little patience, you can reassemble the latch and restore the machine’s safety and functionality. This guide walks you through every part of the process, from preparing the work area to testing the door lock.
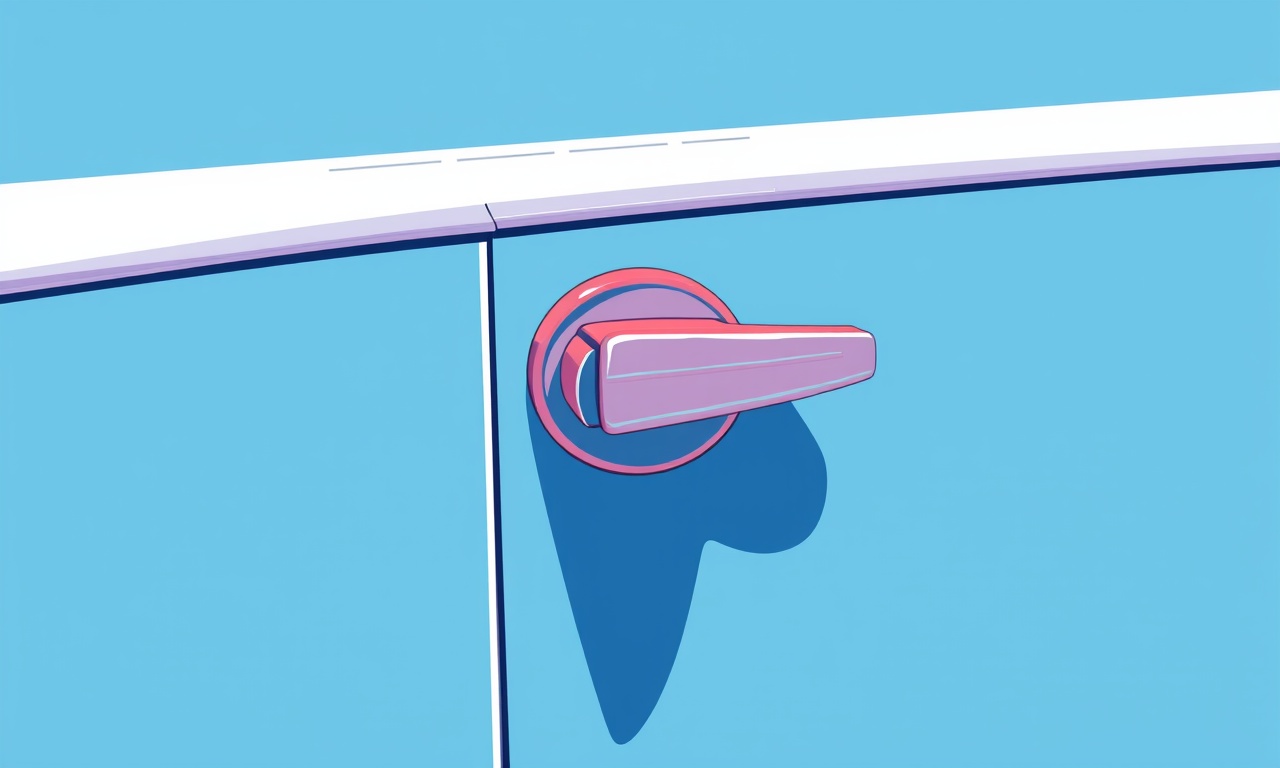
Why the Door Latch Matters
The door latch on a washer is a safety device that prevents the door from opening while the machine is running. It also ensures the water remains inside the drum and that the motor does not run under unsafe conditions. When the latch is detached, the washer will refuse to start or may operate without a secure door, creating a safety hazard. Reassembling the latch restores both safety and proper operation.
Safety First
Before you begin, keep these precautions in mind:
- Unplug the washer – the most important safety step.
- Wear protective gloves to avoid cuts from metal or sharp edges.
- Work on a flat, stable surface to keep parts organized.
- Keep a clean workspace so you don’t lose small screws or washers.
- Avoid using excessive force when handling the latch components; they are designed to fit together, not to be forced.
What You’ll Need
- Phillips and flat‑head screwdrivers
- Small adjustable wrench or pliers
- Socket set (typically 10 mm or 12 mm)
- A magnetized screwdriver or a magnet bar (helps retrieve small screws)
- Replacement latch bolt and housing (if the original is damaged)
- New set of door latch screws (often 5 mm or 10 mm, check your model)
- Thread locker (optional, for extra security)
- Clean rag or microfiber cloth
- A small container or tray for screws
Step‑by‑Step Reassembly
Below is a detailed walkthrough. Read through all the steps first, then proceed in order.
1. Access the Door Latch Assembly
- Open the washer door and let any water drain.
- Locate the latch housing on the right side of the door frame, just below the door seam.
- Remove the top panel of the door. Use the flat‑head screwdriver to pry the panel off carefully.
- Lift the panel and set it aside in a safe place; you will need to reattach it later.
2. Remove the Detached Latch
- Inspect the latch for any visible damage or missing parts.
- Unscrew the latch bolt that attaches the latch to the door frame. Use the Phillips screwdriver or socket set.
- Slide the latch bolt out and set it aside.
- Detach the latch cover (if applicable). It usually snaps or screws into place.
- Take note of how the latch pieces fit together; you may want to photograph the assembly for reference.
3. Prepare the New Latch
- Check the new latch kit for all parts: bolt, housing, screws, and any additional components.
- Verify the bolt length matches the original. A bolt that is too short or too long will prevent proper alignment.
- Clean the latch area with a rag to remove dust or debris.
4. Reattach the Latch Bolt
- Position the new bolt into the latch housing. Align the bolt’s threaded end with the mounting holes on the door frame.
- Hand‑tighten the bolt until it sits flush.
- Use the socket or wrench to fully secure the bolt. Do not overtighten; you want a snug fit without stripping threads.
- If desired, apply a small amount of thread locker to the bolt threads before final tightening. This can prevent future loosening.
5. Install the Latch Cover
- Snap the cover back onto the latch housing.
- If the cover uses screws, install them with the correct screw size.
- Check that the cover sits evenly; any wobble may indicate an alignment issue.
6. Reattach the Door Panel
- Place the panel back over the latch housing.
- Screw the panel into place with the original screws.
- Ensure all screws are snug but not over‑tightened to avoid cracking the panel.
7. Verify Door Seal Alignment
- Close the washer door and observe the seam.
- Press gently on the door to confirm the latch engages fully.
- Open and close the door several times to ensure smooth operation and that the latch does not bind.
8. Reconnect Power and Test
- Plug the washer back in.
- Run a short cycle at the lowest temperature setting.
- Watch for any error codes on the display. A properly reassembled latch should result in a successful start.
- If the washer still refuses to start, double‑check the latch alignment and screw torque.
Common Issues and Quick Fixes
- Latch doesn’t lock – the bolt may not be seated properly; try slightly rotating the bolt.
- Door opens while running – ensure the latch cover is secure and the door panel is fully attached.
- Error code P1210 (door not secured) – check for debris in the latch mechanism that could be blocking the sensor.
When to Call a Professional
If you discover:
- Significant damage to the latch housing or bolt.
- Electrical problems related to the latch sensor.
- The washer continues to refuse to start after a correct reassembly.
Contact a certified appliance repair technician. Working with the machine’s electrical components can be risky without proper training.
Maintenance Tips to Prevent Future Latch Problems
- Keep the latch area clean; moisture and lint can accumulate and interfere with movement.
- Check the latch periodically for tightness and wear.
- Avoid using abrasive cleaning agents on the latch cover.
- Inspect the door seal for cracks or stiffness that could affect latch alignment.
Final Thoughts
Reassembling a detached door latch on a Speed Queen SQ1M does not require advanced mechanical skills, but it does require careful attention to detail. By following the steps above, you can restore your washer’s safety and functionality and avoid unnecessary repair costs. Remember that safety is the priority—always unplug the machine and keep a clean, organized workspace.
When you finish, your washer will be ready to take on laundry loads again, with the door latch functioning exactly as it should.
Discussion (9)
Join the Discussion
Your comment has been submitted for moderation.
Random Posts

Addressing Apple iPhone 14 Pro Max Battery Drain During Gaming Sessions
Learn why iPhone 14 Pro Max batteries drain during gaming, how to diagnose the issue, and practical tweaks to keep you playing longer with less power loss.
5 months ago

Curing iPhone 14 Plus Charging Port Wear After Daily Fast Charge Cycles
Fast charging can loosen your iPhone 14 Plus port. Learn to spot slow charging and loose cables, then fix it with simple home tricks or long, term prevention.
6 months ago
Xiaomi Mi SmartGlasses 3 Eye Tracking Error Fix
Fix the eye, tracking issue on Mi SmartGlasses 3 with this step, by, step guide to diagnose, clear errors, and restore functionality without repair.
1 year ago

Overcoming Sony X900H Color Saturation Drift During HDR Playback
Discover how to spot and fix color saturation drift on your Sony X900H during HDR playback, tune settings, correct HDR metadata, and keep your scenes vivid and natural.
4 months ago

Remediating Signal Dropout on Bowers & Wilkins PX8 Noise Cancelling Headphones
Discover why the Bowers & Wilkins PX8 may drop sound and how to fix it by tackling interference, low battery, outdated firmware, obstacles and Bluetooth settings for uninterrupted audio
1 week ago
Latest Posts

Fixing the Eufy RoboVac 15C Battery Drain Post Firmware Update
Fix the Eufy RoboVac 15C battery drain after firmware update with our quick guide: understand the changes, identify the cause, and follow step by step fixes to restore full runtime.
5 days ago

Solve Reolink Argus 3 Battery Drain When Using PIR Motion Sensor
Learn why the Argus 3 battery drains fast with the PIR sensor on and follow simple steps to fix it, extend runtime, and keep your camera ready without sacrificing motion detection.
5 days ago

Resolving Sound Distortion on Beats Studio3 Wireless Headphones
Learn how to pinpoint and fix common distortion in Beats Studio3 headphones from source issues to Bluetooth glitches so you can enjoy clear audio again.
6 days ago