Reboot a Faulty Control Board on GE GTW8000
Welcome to a detailed guide on how to reboot a faulty control board on the GE GTW8000 washing machine. A malfunctioning control board can cause a variety of issues—from the machine refusing to start to erratic cycle changes. Rebooting the board often restores normal operation and saves you the cost of a replacement. Follow the steps carefully, use the right tools, and take safety precautions to keep yourself and your appliance safe.
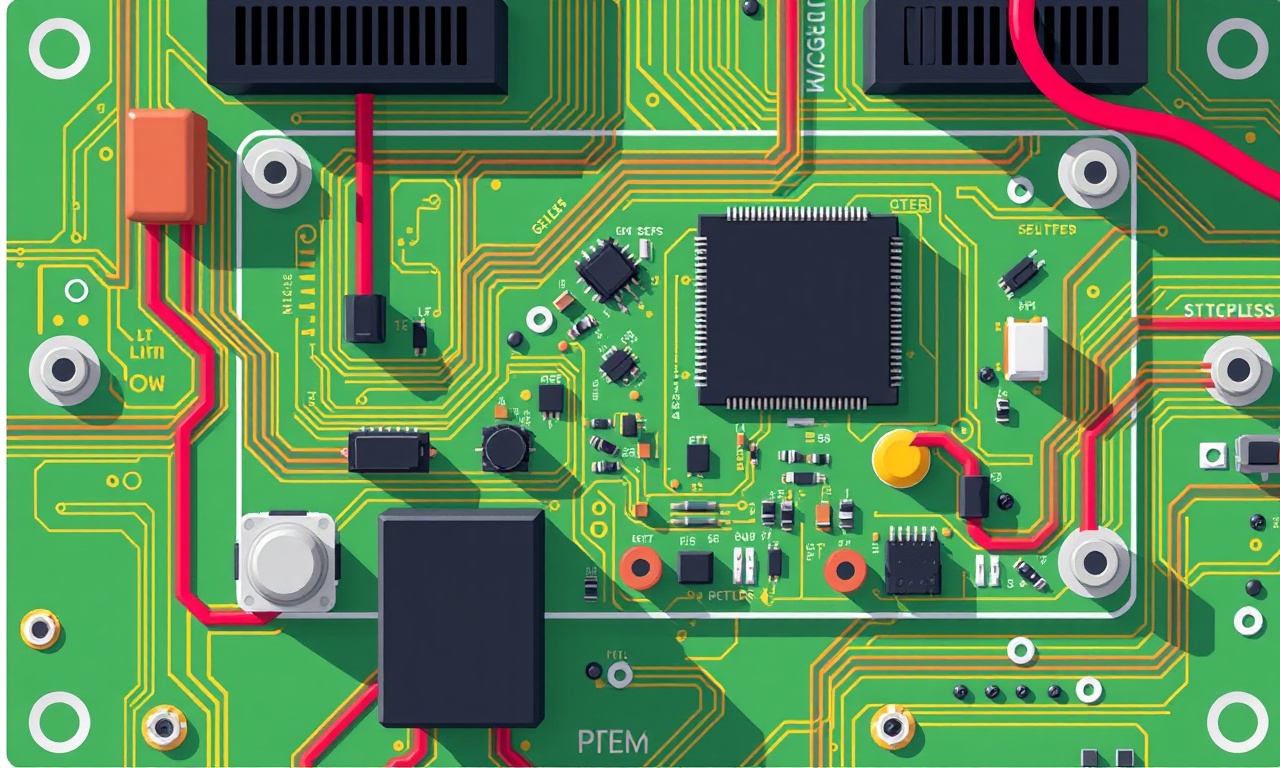
Understanding the GE GTW8000 Control Board
The GE GTW8000 uses a single printed circuit board (PCB) that manages all functions of the washer: start/stop, cycle selection, water level, temperature, and motor control. The board sits just below the control panel, behind a removable access panel. It receives power from the main supply through a fuse or circuit breaker, and it drives relays and motors via a series of cables. Because the board is responsible for translating user input into machine action, a failure often manifests as a blank display, error codes, or a complete loss of functionality.
Common Symptoms of a Faulty Control Board
- The machine powers on but the display remains blank or shows random numbers.
- No response to buttons; the washer fails to start or stop.
- The machine enters a “fault” or “error” mode repeatedly.
- Unusual noises or vibrations that coincide with a loss of control.
- The machine will not complete cycles or will stop mid‑cycle without warning.
If you notice one or more of these symptoms, a reboot can reset the board’s firmware and clear temporary glitches. In many cases, a reboot is a quick fix that restores full function.
Gather Tools and Materials
Before you start, assemble everything you need to avoid stopping mid‑process.
- Flathead screwdriver or Phillips screwdriver (depending on your panel screws)
- Non‑conductive tweezers or a plastic tool for disconnecting clips
- A small flashlight or headlamp
- A clean, dry cloth
- A small bucket or container for any loose screws or small parts
These items are inexpensive and should be readily available in most households. If you prefer a cordless screwdriver, that can also work, but a manual one gives you better control.
Safety Precautions
Your safety is paramount.
- Disconnect the washer from the wall outlet or the dedicated circuit breaker before you touch any components.
- Avoid touching the power cord or any exposed metal parts while the machine is still connected.
- Do not use metal tools near the board; plastic or wood is safer to prevent short circuits.
- If you feel uncertain at any point, stop and consider professional help.
By following these precautions, you protect yourself and reduce the risk of further damage to the appliance.
Step 1 – Power Down and Unplug
The first and most important step is to ensure that no electricity is flowing into the washer. Turn off the main breaker or unplug the power cord. A quick visual check of the fuse box can confirm that the circuit is de‑energized. Once unplugged, let the machine sit for a few minutes to allow any residual charge to dissipate.
Step 2 – Locate the Control Board
The control board is located beneath the front panel.
- Turn the washer around or tilt it slightly to access the bottom.
- If your model has a separate door, open it.
- The board is usually a rectangular black or gray plate, with a visible array of connectors on one side.
- The rear of the board should have a power connector and a few wire harnesses.
Look for a small sticker or label that identifies the board as part of the GE GTW8000; this confirms you are in the right place.
Step 3 – Inspect for Visible Damage
Before disconnecting anything, take a close look at the board.
- Check for scorch marks, melted plastic, or a burnt smell.
- Look for loose or corroded components.
- Inspect the power connector for any signs of damage.
If you find any obvious signs of damage, it may be safer to replace the board rather than attempt a reboot.
Step 4 – Disconnect All Cables
Carefully disconnect the power cord and all other cables.
- Use the plastic tool or tweezers to release any clips that hold the harnesses.
- Pull the connectors gently; avoid using force that could damage pins.
- Label or photograph each connector if it is not obvious where it attaches back on the board.
Documenting the layout will speed up reassembly and reduce mistakes.
Step 5 – Remove the Control Board
Unscrew the mounting screws that hold the board in place.
- Keep the screws in a small container to avoid losing them.
- Once all screws are removed, lift the board out of its socket.
- Set it aside on a clean, flat surface.
You may notice a slight resistance if a clip is still engaged; be gentle.
Step 6 – Clean the Board and Panel
Use a dry cloth to wipe away any dust or debris from the board.
- Avoid using any liquid cleaners; moisture can damage the electronics.
- Inspect the board for any loose components that might have shifted.
- Clean the panel that holds the board; a clean surface will ensure proper contact when you reinstall.
Step 7 – Inspect and Replace Faulty Components (Optional)
If you have a multimeter and the knowledge to test individual components, you can look for shorted resistors, blown capacitors, or faulty ICs.
- Measure the resistance across components as recommended in the service manual.
- Replace any that fall outside of acceptable ranges.
This step is optional and typically not necessary for a simple reboot, but it can be useful if a reboot fails to resolve the issue.
Step 8 – Reinstall the Control Board
Place the board back into its mounting socket.
- Align it carefully to ensure all connectors line up.
- Screw the board back into place with the screws you saved.
Make sure the board sits flush against the panel and there are no gaps that could allow moisture in.
Step 9 – Reconnect All Cables
Return each harness and connector to its original spot.
- Push each connector firmly until you hear a click that confirms it is locked in.
- Verify that each connection is secure and that no wires are twisted or pinched.
If you had taken photos earlier, cross-check them with the current arrangement.
Step 10 – Reboot the System
With everything reconnected, the board needs to be reset.
- Plug the washer back into the outlet or flip the breaker back on.
- Wait a few seconds for the board to initialize.
- Some models will automatically reboot; others may require you to press the Start button.
Give the washer a full cycle of a basic wash (no clothes) to allow it to reset and run through its diagnostic routine.
Step 11 – Verify Operation
Check that the display shows normal operation.
- Start a quick wash cycle.
- Observe that all selected options (spin speed, water level, etc.) are recognized.
- Ensure that the machine completes the cycle without error codes or premature stops.
If the machine runs smoothly, the reboot was successful.
Troubleshooting
Even after a reboot, some issues may persist.
- If the display remains blank, double‑check all power connections and fuses.
- If the washer still shows error codes, consult the GE GTW8000 error code list; some codes indicate deeper hardware problems.
- If the machine won’t start after a reboot, check the door latch sensor; a faulty latch can prevent start.
- Re‑inspect the board for any loose connections you may have missed.
When to Seek Professional Help
A reboot is a simple, low‑risk fix, but it may not solve every problem.
- Persistent or worsening error codes.
- Visible damage on the board.
- Uncertainty about handling delicate electronics.
- Electrical safety concerns such as a faulty mains supply.
In these situations, call a licensed appliance repair technician.
Conclusion
Rebooting a faulty control board on the GE GTW8000 is a straightforward process that can restore your washer to full working condition without the expense of a new board. By following the safety steps, gathering the proper tools, and carefully disconnecting and reconnecting the board, you give yourself the best chance of success. Remember that a reboot may not solve all issues; if symptoms persist, professional assistance is the safest next step. Happy washing!
Discussion (6)
Join the Discussion
Your comment has been submitted for moderation.
Random Posts

Analyzing iPhone 13 Pro Max Apple Pay Transaction Declines After Software Update
After the latest iOS update, iPhone 13 Pro Max users see more Apple Pay declines. This guide explains the technical cause, how to diagnose the issue, and steps to fix payment reliability.
2 months ago

Dyson AM15 Mist Not Spreading What Causes It And How To Repair
Find out why your Dyson AM15 Mist isn’t misting, learn the common causes, and follow our step, by, step guide to restore full misting performance quickly.
2 months ago

Adjusting the Neato Botvac D6 for Unexpected Cleaning Pause
Learn why your Neato Botvac D6 pauses, diagnose the issue, and tweak settings for smooth, uninterrupted cleaning.
11 months ago

Quelling LG OLED G1 Picture Loop at Startup
Stop the LG OLED G1 picture loop that stutters at startup, follow these clear steps to diagnose software glitches, adjust settings, and restore a smooth launch every time.
4 months ago

Resolving Room Acoustics Calibration on Samsung HW Q990T
Calibrate your Samsung HW, Q990T to your room's acoustics and unlock true cinema-quality sound, every dialogue and subtle score becomes crystal clear.
1 month ago
Latest Posts

Fixing the Eufy RoboVac 15C Battery Drain Post Firmware Update
Fix the Eufy RoboVac 15C battery drain after firmware update with our quick guide: understand the changes, identify the cause, and follow step by step fixes to restore full runtime.
5 days ago

Solve Reolink Argus 3 Battery Drain When Using PIR Motion Sensor
Learn why the Argus 3 battery drains fast with the PIR sensor on and follow simple steps to fix it, extend runtime, and keep your camera ready without sacrificing motion detection.
5 days ago

Resolving Sound Distortion on Beats Studio3 Wireless Headphones
Learn how to pinpoint and fix common distortion in Beats Studio3 headphones from source issues to Bluetooth glitches so you can enjoy clear audio again.
6 days ago