Repair stuck charging case on OnePlus Buds Z
When the charging case of your OnePlus Buds Z refuses to open, the earbuds can’t charge and the whole listening experience comes to a halt. The problem is more common than you might think – dust, debris, a misaligned latch, or a small piece of plastic from the manufacturing process can become lodged in the hinge. This guide walks you through a safe, step‑by‑step repair that restores the case to full functionality without voiding the warranty (as long as you avoid permanent modifications).
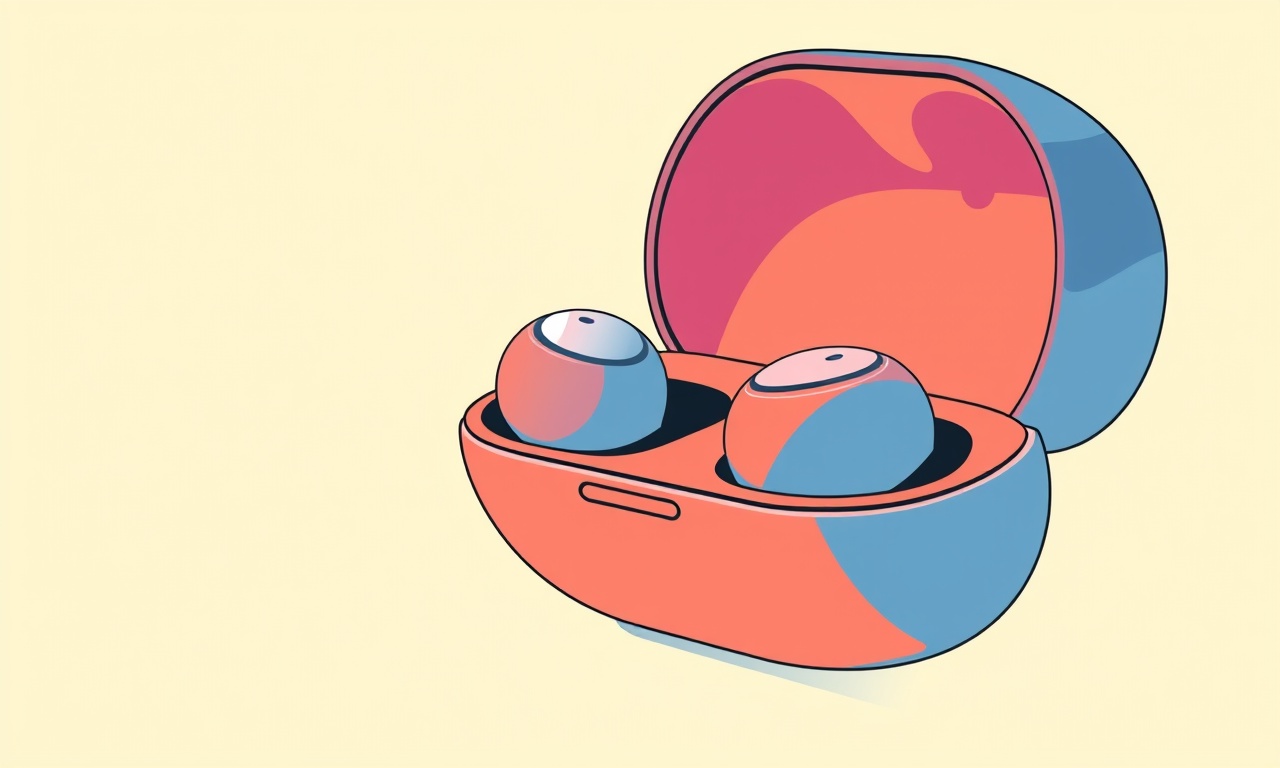
Understanding the Mechanism
The OnePlus Buds Z case is a compact, two‑piece unit. The outer shell houses a spring‑loaded latch that keeps the lid sealed when closed. Inside, magnetic contacts align the earbuds with the charging pins. When the latch is stuck, the lid may appear closed but the internal contacts remain disengaged, leading to a “not charging” indicator on the earbuds.
Key points to remember:
- The case is made of polycarbonate with a rubberized sealing strip.
- The latch is a small metal tab that snaps into a groove on the lid.
- A tiny spring provides the opening force.
- No soldered components are involved in the latch, so the repair is mechanical only.
Gather Your Tools
Before you begin, collect the following items. Having everything at hand prevents you from rummaging mid‑repair and reduces the risk of dropping a component.
- A clean, flat work surface (a matte silicone mat works well).
- A soft microfiber cloth – to protect the case from scratches.
- A set of precision tweezers – preferably with a fine tip.
- A plastic opening tool or a thin guitar pick – metal tools can damage the plastic.
- A can of compressed air – to blow out dust without touching the internals.
- Isopropyl alcohol (90 % or higher) and a lint‑free swab – for cleaning contacts if needed.
- A bright, preferably LED, lamp or a desk lamp – good lighting makes it easier to spot tiny particles.
Safety First
Even though the case contains no high‑voltage components, follow these basic precautions:
- Work on a dry surface away from liquids.
- Keep the earbuds themselves out of the workspace to avoid accidental damage.
- If you notice any broken plastic or a cracked hinge, discontinue the repair and contact OnePlus support – the case may need replacement.
Step‑by‑Step Repair
Inspect the Exterior
- Hold the case upright and examine the seam where the lid meets the base. Look for any visible protrusions, dust clusters, or misaligned plastic.
- Rotate the case slowly 360 degrees while shining the lamp across the seam. Sometimes a small crumb catches the light and becomes obvious.
If you see nothing unusual, proceed to the next step. If you spot a visible obstruction, you may be able to remove it without disassembly.
Apply Gentle Pressure to Test the Latch
- With your thumb, try to push the lid open gently while supporting the base with your other hand.
- Listen for a faint “click” – a successful release of the latch.
- If the lid resists and you feel a solid block rather than a spring, the latch is likely jammed.
Use Compressed Air
- Position the nozzle a few centimeters away from the seam.
- Give a short burst of air aimed at the hinge area. This can dislodge loose particles that are otherwise invisible.
- Attempt to open the lid again.
If the case still does not open, move on to a more direct approach.
Introduce a Plastic Opening Tool
- Insert the thin edge of the plastic opening tool into the small gap between the lid and the base.
- Gently twist the tool while applying a light upward force.
- The goal is to nudge the latch back into its original position without forcing the plastic apart.
Tip: Work slowly. A sudden snap can crack the case.
Locate the Stuck Piece
If the latch feels bound, you will likely see a tiny piece of debris once a small opening is created. Use the tweezers to:
- Grasp the debris – avoid pinching the plastic latch itself.
- Lift the particle out of the hinge groove.
Sometimes the culprit is a sliver of the sealing strip that has folded into the latch. In that case, you can use the tweezers to straighten the strip back into place.
Realign the Latch
When the debris is cleared, the latch may still sit slightly off‑center. To fix:
- With the tweezers, gently pull the metal tab of the latch away from the lid groove by a fraction of a millimeter.
- Release and allow the spring to snap it back into alignment.
- Test the opening motion again.
If the latch now opens smoothly, you have resolved the mechanical issue.
Clean the Contact Points (Optional but Recommended)
Even after fixing the latch, dust may have settled on the charging contacts inside the case.
- Dampen a lint‑free swab with a drop of isopropyl alcohol.
- Lightly rub each contact pad – you will notice a brief metallic sheen when the pad is clean.
- Allow the alcohol to evaporate for about 30 seconds before reassembling.
Reassemble and Test
- Close the lid gently until you feel the latch click.
- Place one earbud inside the case and align the magnetic connectors.
- Observe the LED indicator – it should turn on, signaling that charging has begun.
- If the indicator does not light, double‑check that the contacts are clean and that the latch is fully closed.
When the Repair Fails
Occasionally the latch mechanism can be bent beyond simple realignment, or the internal spring may have lost its tension. In those cases:
- Contact OnePlus Support: If your device is still under warranty, they may replace the case free of charge.
- Purchase a Replacement Case: Official spare parts are available on the OnePlus website or authorized retailers.
- Professional Repair Services: Some third‑party electronics repair shops offer case latch repairs for a modest fee.
Preventive Maintenance
Keeping your OnePlus Buds Z case free of debris reduces the chances of future jams.
- Wipe the Sealing Strip Regularly: Use a dry microfiber cloth to remove dust after each use.
- Avoid Using the Case in Dusty Environments: If you must travel to a construction site or similar, consider a protective pouch.
- Store the Case Upside‑Down: This prevents loose crumbs from settling in the hinge.
- Periodic Air Blasting: A quick burst of compressed air every few weeks helps keep the internals clear.
Frequently Asked Questions
Can I use a metal screwdriver to pry the case open?
It is not advisable. Metal tools can scratch or deform the polycarbonate housing and may damage the internal contacts permanently.
Will cleaning the contacts with water work?
No. Water can cause oxidation or short‑circuiting. Isopropyl alcohol evaporates quickly and leaves no residue, making it the safest choice.
Is the warranty voided if I open the case?
The case is not sealed with tamper‑evident screws, so a careful, tool‑free opening generally does not affect the warranty. However, forcing the case or damaging plastic will likely invalidate it.
What if the LED does not illuminate after a repair?
First, verify that the earbuds are fully seated in the case. Then re‑clean the contacts and ensure the latch is completely closed. If the LED still stays off, the internal charging circuitry may be faulty and require professional service.
Summary
A stuck charging case on OnePlus Buds Z is usually a simple mechanical issue caused by dust, a misaligned latch, or a tiny piece of plastic. By following the steps outlined above—inspecting, using compressed air, carefully prying with a plastic tool, removing debris with tweezers, realigning the latch, and cleaning the contacts—you can restore full charging functionality without risking damage to your earbuds or voiding the warranty. Regular maintenance, such as wiping the sealing strip and occasional air blasts, will keep the case operating smoothly for years to come. If all else fails, professional support or a replacement case remains a reliable backup plan.
Discussion (12)
Join the Discussion
Your comment has been submitted for moderation.
Random Posts

Addressing Apple iPhone 14 Pro Max Battery Drain During Gaming Sessions
Learn why iPhone 14 Pro Max batteries drain during gaming, how to diagnose the issue, and practical tweaks to keep you playing longer with less power loss.
5 months ago

Curing iPhone 14 Plus Charging Port Wear After Daily Fast Charge Cycles
Fast charging can loosen your iPhone 14 Plus port. Learn to spot slow charging and loose cables, then fix it with simple home tricks or long, term prevention.
6 months ago
Xiaomi Mi SmartGlasses 3 Eye Tracking Error Fix
Fix the eye, tracking issue on Mi SmartGlasses 3 with this step, by, step guide to diagnose, clear errors, and restore functionality without repair.
1 year ago

Overcoming Sony X900H Color Saturation Drift During HDR Playback
Discover how to spot and fix color saturation drift on your Sony X900H during HDR playback, tune settings, correct HDR metadata, and keep your scenes vivid and natural.
4 months ago

Remediating Signal Dropout on Bowers & Wilkins PX8 Noise Cancelling Headphones
Discover why the Bowers & Wilkins PX8 may drop sound and how to fix it by tackling interference, low battery, outdated firmware, obstacles and Bluetooth settings for uninterrupted audio
1 week ago
Latest Posts

Fixing the Eufy RoboVac 15C Battery Drain Post Firmware Update
Fix the Eufy RoboVac 15C battery drain after firmware update with our quick guide: understand the changes, identify the cause, and follow step by step fixes to restore full runtime.
5 days ago

Solve Reolink Argus 3 Battery Drain When Using PIR Motion Sensor
Learn why the Argus 3 battery drains fast with the PIR sensor on and follow simple steps to fix it, extend runtime, and keep your camera ready without sacrificing motion detection.
5 days ago

Resolving Sound Distortion on Beats Studio3 Wireless Headphones
Learn how to pinpoint and fix common distortion in Beats Studio3 headphones from source issues to Bluetooth glitches so you can enjoy clear audio again.
6 days ago