Replacing Faulty Motor on Dyson V15 Detect
Introduction
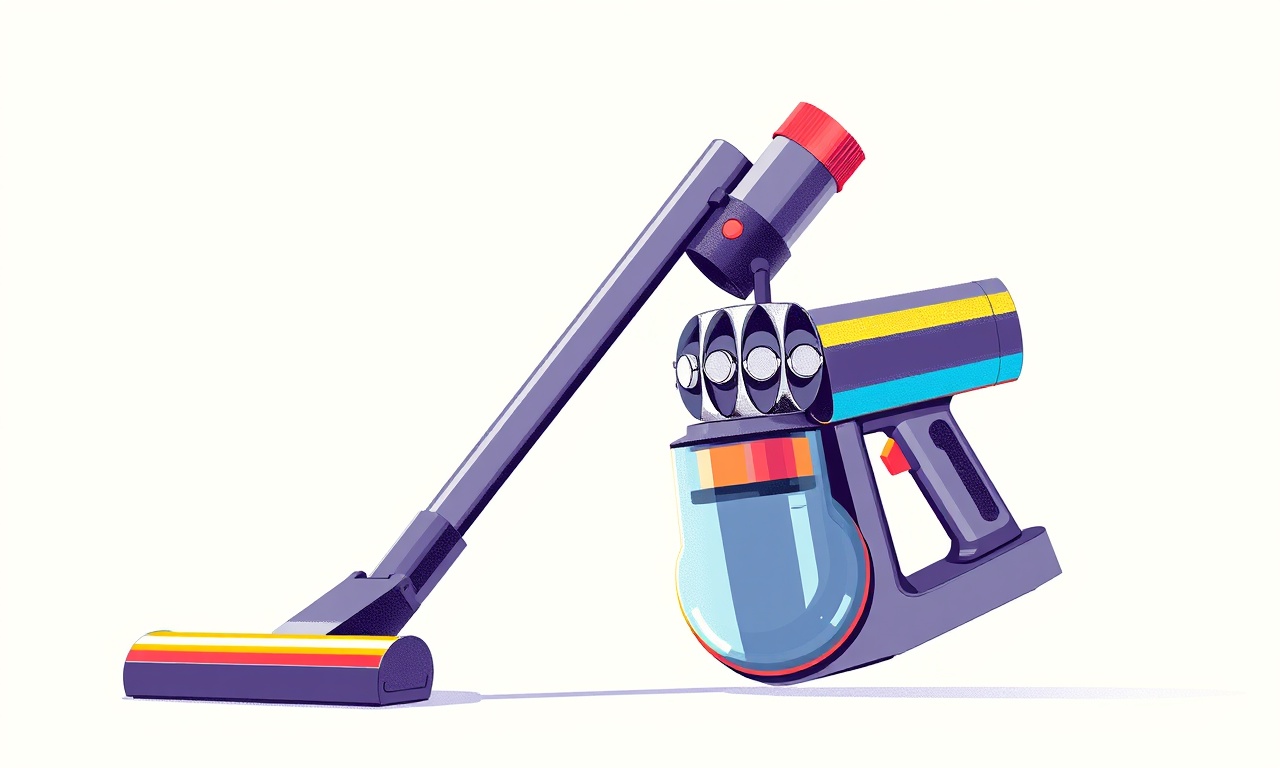
The Dyson V15 Detect is a highly regarded cordless vacuum that combines advanced sensing technology with powerful suction. Over time, the motor— the heart of the machine— can fail due to wear, overheating, or electrical issues. Replacing a faulty motor is a straightforward process if you follow the correct steps and use the right tools. This guide walks you through the entire procedure, from identifying the problem to testing the vacuum after the replacement.
The steps below are designed for home users with basic mechanical aptitude. If you encounter any complications, consult a professional technician.
Recognizing a Motor Problem
Before you begin the repair, confirm that the motor is indeed the culprit. Common symptoms include:
- Reduced suction that does not improve after a regular cleaning or a brush‑cleaning cycle.
- Unusual noises such as grinding or rattling during operation.
- Intermittent power where the vacuum turns on and off abruptly.
- Heat buildup around the motor housing that feels excessive to the touch.
- Error messages on the display panel that reference motor failure or “MOTOR_ERROR.”
If your Dyson V15 Detect shows any of these signs, proceed to disassembly and inspection.
The Dyson V15 Motor Explained
The V15 uses a high‑performance brushless motor that powers both the main suction fan and the rotating brush. The motor is mounted on a dedicated motor plate, connected to the main body via a plastic bracket and several small screws. Its design allows the motor to spin at very high speeds while maintaining low noise and efficient power usage.
Replacing this motor requires careful handling because the motor is integrated with the vacuum’s electronics. Disconnecting the motor cable and removing the bracket must be done gently to avoid damaging the connectors or the internal frame.
Tools and Materials Needed
| Item | Purpose |
|---|---|
| Philips head screwdriver (size 0) | Remove screws on the front panel |
| Flat‑head screwdriver | Open the dust compartment |
| Small Phillips head screwdriver (size 1) | Remove the motor bracket |
| Replacement Dyson V15 motor (model V15‑B‑MTR) | New motor |
| Optional: 3‑mm hex wrench | Tighten small bolts |
| Clean cloth | Wipe off dust |
All tools can be found in most hardware stores or online. Ensure the replacement motor matches the V15 series; using a non‑compatible part can cause further damage.
Safety First
- Unplug the vacuum from any power source. Even though the V15 is cordless, always disconnect the battery or ensure it is completely removed to avoid accidental activation.
- Place the vacuum on a stable surface such as a workbench or a table with a non‑slip mat.
- Wear safety glasses to protect your eyes from dust or falling debris.
- Keep a clean workspace. Accumulated dust can cause short circuits if it contacts electrical contacts.
Step 1 – Power Off and Unplug
- Remove the battery from the vacuum. The battery latch is located on the side of the unit. Push the latch and slide the battery out.
- Confirm the vacuum’s indicator light is off, indicating no residual power.
Step 2 – Disassemble the Front Panel
- Flip the vacuum over and locate the front panel screws on the underside of the body.
- Using the Phillips head screwdriver, unscrew all four screws. Keep them in a small container to avoid losing them.
- Gently lift the front panel away from the main body. The panel should detach easily once the screws are removed.
Step 3 – Locate the Motor
- Inside the main body, you will see a plastic bracket that secures the motor to the frame. The motor is the small cylindrical component with a shiny metal surface.
- The motor connects to the main board via a thin, flexible cable that ends in a small connector.
Step 4 – Disconnect the Motor Connections
- Locate the connector on the back of the motor. Carefully detach the cable by pulling it straight out. If it resists, gently wiggle it while pulling to avoid breaking the pins.
- Inspect the connector for bent or broken pins. If any pins are damaged, the new motor’s connector may not fit properly; replace the connector or use a compatible replacement.
Step 5 – Remove the Motor
- The motor is held in place by a single Phillips head screw (size 1) located at the back of the motor. Use the screwdriver to loosen this screw.
- Once the screw is removed, gently slide the motor out of its housing. If the motor feels stuck, double‑check that all screws and connectors are free.
Step 6 – Install the New Motor
- Align the new motor with the motor plate. Ensure that the connector on the motor matches the orientation of the cable on the main board.
- Slide the new motor into the housing until it sits flush with the frame.
- Re‑attach the screw to secure the motor. Tighten the screw with a firm but gentle pressure—do not overtighten as this can crack the motor housing.
Step 7 – Reassemble the Vacuum
- Re‑connect the motor cable to the main board. Push the connector firmly until it clicks into place.
- Place the plastic bracket back onto the motor and re‑attach the mounting screw if it was removed.
- Snap the front panel back onto the body. Align the screw holes and insert the screws, tightening them evenly to avoid any wobble.
Step 8 – Test the Vacuum
- Reinstall the battery and turn on the vacuum.
- Observe the motor’s operation. The motor should spin smoothly without unusual noises.
- Run a short cleaning cycle to verify suction power and the functionality of the V15’s sensor system.
- If the vacuum displays any error messages or the motor continues to overheat, double‑check all connections and ensure the replacement part is correct.
Troubleshooting Common Issues
| Symptom | Likely Cause | Fix |
|---|---|---|
| Motor still doesn’t spin | Incorrect motor installation or damaged connectors | Re‑inspect alignment and connectors; ensure the motor is fully seated. |
| Motor runs but suction is weak | Dust buildup in the main fan or clogged filters | Clean the filter and the fan blades. |
| Motor makes a whine or grinding noise | Worn brushes or a damaged fan blade | Inspect the fan; replace if necessary. |
| Error message “MOTOR_ERROR” persists | Electrical short or damaged motor board | Check for exposed wiring; if unresolved, contact Dyson support. |
Maintaining Your Dyson Motor
- Regularly clean the filter and the brushroll to prevent dust from clogging the motor.
- Check the battery health. A failing battery can cause inconsistent power delivery.
- Avoid overheating by allowing the vacuum to cool between long cleaning sessions.
- Schedule periodic inspections: If you use the vacuum daily, consider a self‑check every six months.
Where to Buy Replacement Parts
- Dyson’s Official Website: Directly orders OEM parts; guaranteed compatibility.
- Authorized Dyson Service Centers: Provide parts and installation assistance.
- Reputable Online Marketplaces: Amazon, eBay, or specialized vacuum repair sites. Ensure the part is labeled “Dyson V15 Motor” and verify seller ratings.
Final Thoughts
Replacing the motor on a Dyson V15 Detect is a manageable task that can extend the life of your vacuum and restore its performance. By carefully following each step and using the correct tools, you can avoid common pitfalls and ensure a successful repair. Always prioritize safety, double‑check connections, and keep a tidy workspace to make the process as smooth as possible. Happy cleaning!
Discussion (10)
Join the Discussion
Your comment has been submitted for moderation.
Random Posts

Solving a Persistent Stain Release Issue on Whirlpool WFW5620HW
Tired of spots on your clothes? Discover how to diagnose and fix the stubborn stain release problem on your Whirlpool WFW5620HW with our step-by-step guide.
9 months ago

De'Longhi DL150 Steam Iron Water Recirculation Failure Solution
Trouble with your DeLonghi DL150 steam iron? Learn why water recirculation fails, diagnose the issue, and follow our simple step by step solution to restore steady steam and wrinkle free clothes.
3 months ago

Resolving Lenovo Mirage Solo Bluetooth Pairing Issues
Fix Lenovo Mirage Solo Bluetooth glitches fast with this step by step guide. From simple checks to firmware hacks, reconnect your headset, controllers, and peripherals in minutes.
2 months ago
Lenovo SmartEyewear X Eye Tracking Error Troubleshoot
Get your Lenovo SmartEyewear X eye tracking back with our step-by-step guide. Diagnose glitches, reset settings, and restore smooth gaze navigation quickly.
3 months ago

Calibrating Noise‑Cancellation on Beats Studio Buds
Master Beats Studio Buds ANC: learn the science, step, by, step calibration, and troubleshooting to silence distractions and boost your listening experience.
10 months ago
Latest Posts

Fixing the Eufy RoboVac 15C Battery Drain Post Firmware Update
Fix the Eufy RoboVac 15C battery drain after firmware update with our quick guide: understand the changes, identify the cause, and follow step by step fixes to restore full runtime.
5 days ago

Solve Reolink Argus 3 Battery Drain When Using PIR Motion Sensor
Learn why the Argus 3 battery drains fast with the PIR sensor on and follow simple steps to fix it, extend runtime, and keep your camera ready without sacrificing motion detection.
5 days ago

Resolving Sound Distortion on Beats Studio3 Wireless Headphones
Learn how to pinpoint and fix common distortion in Beats Studio3 headphones from source issues to Bluetooth glitches so you can enjoy clear audio again.
6 days ago