Resolving the Duplexer Calibration Error on a Xerox B4020
Introduction
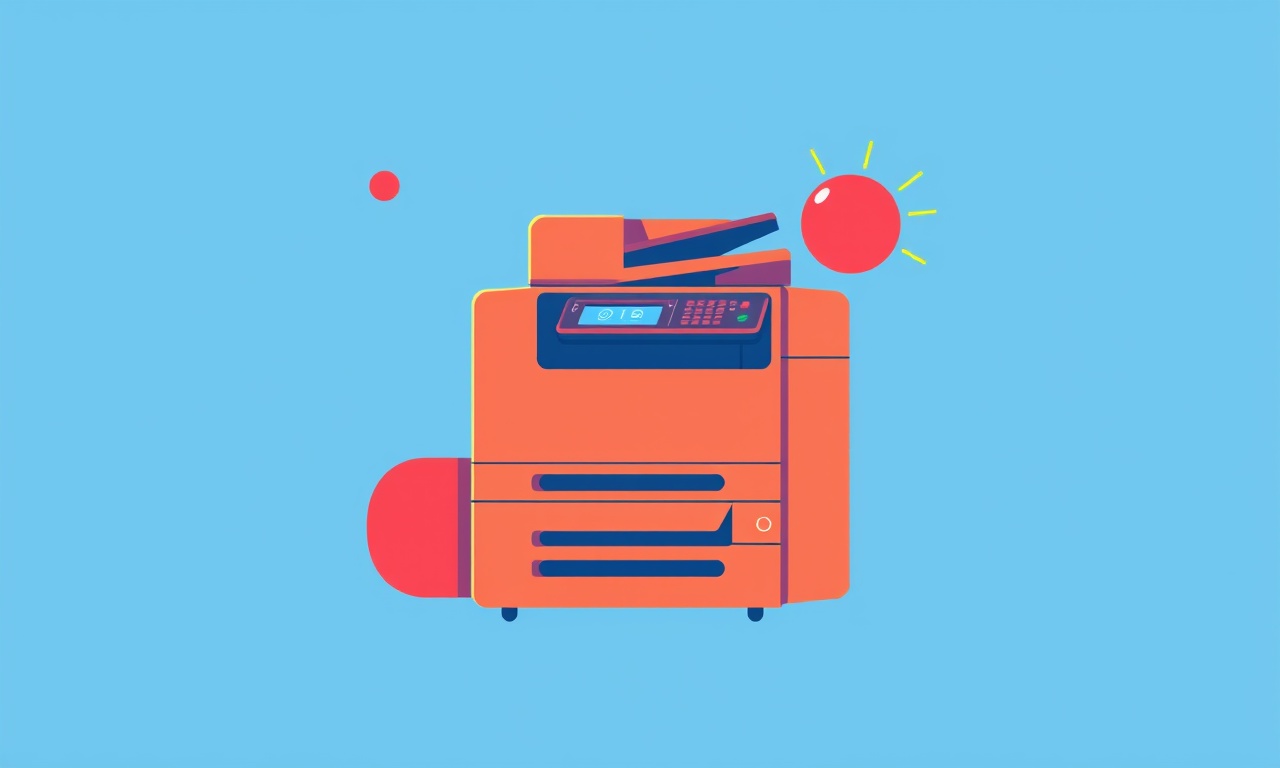
In a home office environment the Xerox B4020 is a popular choice because it delivers reliable color printing, fast output, and a convenient duplex feature. However, users occasionally encounter a “Duplexer Calibration Error” that appears on the control panel and prevents the machine from printing double‑sided documents. This error can be frustrating, especially when deadlines are tight.
This guide provides a step‑by‑step approach to diagnose and resolve the duplexer calibration issue. It assumes that the printer is already connected, powered on, and that you have basic knowledge of its control panel and maintenance mode. The instructions are written for a typical home‑office user, but they are equally applicable to small‑business settings where the B4020 is used.
Understanding the Duplexer Calibration Error
The duplexer is the component that flips a sheet of paper inside the printer, allowing the printer to add text on the back side. When the duplexer fails to detect the paper correctly, the printer logs a calibration error. This error is a safety feature: it stops printing to prevent misfeeds or damage. The error can be triggered by a variety of factors, from a misaligned paper path to firmware glitches.
When the error message appears, the status bar on the B4020 will show “Duplexer Calibration” and the printer will refuse to run any job that requires double‑sided printing. If the error persists, you will also see the “Duplexer Calibration” message in the maintenance log.
Common Causes of the Error
| Cause | Why It Happens |
|---|---|
| Loose or damaged duplexer roller | The roller may shift or break, preventing proper paper contact. |
| Accumulated dust or debris | Foreign objects can obstruct the paper path or jam the roller. |
| Paper misfeed or jam | A jamged paper can leave residual paper that interferes with the duplexer. |
| Incorrect paper type setting | Using the wrong paper setting can cause the duplexer to misalign. |
| Firmware or software issue | Out‑of‑date firmware may not support the current duplexer hardware. |
| Mechanical wear | Over time, repeated use can cause wear that requires recalibration. |
Recognizing the cause helps you choose the most efficient solution.
Preparation Steps
Before starting any repair, gather the following items:
- Printer Power Cord – ensure it is securely connected.
- Soft Cleaning Cloth – for wiping dust.
- Compressed Air Can – for removing debris from hard‑to‑reach areas.
- Small Flat‑Head Screwdriver – for opening the maintenance door.
- Printed User Manual – for reference to specific error codes.
- Notebook – to jot down any observations or steps taken.
If you have a spare USB cable or network connection, make sure it is available; some steps involve accessing the printer’s web interface.
Step 1: Verify Printer Power and Status
- Check that the printer’s power light is steady (not blinking).
- On the control panel, press Menu > Status > Print Status.
- Confirm that the printer is in a normal ready state and that no other error codes are displayed.
If another error is present, resolve it first before proceeding to the duplexer issue.
Step 2: Check for Physical Obstructions
- Press the Paper Feed button on the front panel to see if the printer can advance a sheet of paper.
- Open the main tray and inspect for any broken or folded paper pieces.
- Using compressed air, blow gently into the paper path and the duplexer housing.
- Look for any visible foreign objects inside the duplexer cavity.
If you find debris, remove it carefully with tweezers or a soft brush.
Step 3: Reset the Duplexer
Many calibration problems can be fixed by resetting the duplexer.
- On the control panel, navigate to Menu > Maintenance > Duplexer Reset.
- Confirm the reset operation.
- Wait until the printer completes the reset process; the status light will turn solid green.
If the duplexer reset option is not available, proceed to the manual reset procedure.
Manual Duplexer Reset
- Turn off the printer and unplug it from the wall outlet.
- Wait 30 seconds, then re‑plug and power it on.
- Immediately press and hold the Menu button for 5 seconds.
- Release the button when the status bar flashes “Reset”.
- Follow on‑screen prompts to complete the reset.
After the reset, try printing a duplex job to see if the error persists.
Step 4: Recalibrate the Duplexer
If a simple reset does not solve the problem, a full recalibration may be required.
- On the control panel, go to Menu > Maintenance > Duplexer Calibrate.
- The printer will automatically feed a sheet of paper through the duplexer.
- When the status bar shows “Calibrating”, do not interfere.
- Once the calibration completes, the screen will display “Calibration Complete”.
If the calibration fails, note any error codes that appear and proceed to firmware checks.
Step 5: Update Firmware
Out‑of‑date firmware can create compatibility issues between the duplexer and the control logic.
- On the printer’s web interface (default IP 192.168.1.1), log in with your credentials.
- Navigate to Maintenance > Firmware Update.
- Download the latest firmware version from Xerox’s support website and upload it to the printer.
- Allow the printer to reboot automatically.
- After the reboot, run the duplexer calibration again.
If you cannot access the web interface, connect a USB cable to the printer and use the Xerox Setup Utility on your computer to perform the update.
Step 6: Consult Error Logs
The printer logs detailed diagnostic information that can pinpoint the root cause.
- From the control panel, press Menu > Maintenance > Error Log.
- Review the most recent entries for any mention of “Duplexer” or “Calibration”.
- Note the error code (e.g., 0x0C).
Use the error code to look up a specific remedy in the user manual or the Xerox support portal.
Step 7: If Still Unresolved, Contact Support
When all the above steps fail, the duplexer hardware may be defective or the printer may have a deeper mechanical issue.
- Gather the following information:
- Printer serial number (found on the bottom of the unit).
- A list of all troubleshooting steps already performed.
- Screenshots of any error messages (if possible).
- Visit the Xerox support website and open a ticket.
- Call the local Xerox service hotline.
- If the printer is under warranty, schedule a service visit.
Always keep a record of service requests for future reference.
Additional Tips for Home Office Users
- Use the correct paper type: Always select the appropriate paper setting before printing.
- Keep the printer dust‑free: Schedule a cleaning routine every month.
- Avoid overloading the tray: Exceeding the tray capacity can cause jams.
- Install firmware updates promptly: New releases often include bug fixes.
- Maintain a clean environment: Ensure that the office area around the printer is free of excess clutter.
Preventive Maintenance Checklist
| Task | Frequency | Notes |
|---|---|---|
| Clean interior surfaces | Monthly | Use a dry cloth; avoid liquids. |
| Inspect duplexer rollers | Quarterly | Replace if worn or cracked. |
| Run a diagnostic scan | Every 6 months | Helps catch early faults. |
| Update firmware | Whenever available | Check the Xerox support page. |
| Verify paper feed | Annually | Remove any residual paper. |
Following these guidelines reduces the likelihood of recurring calibration errors and keeps the printer running smoothly.
Conclusion
A duplexer calibration error on the Xerox B4020 can be perplexing, but it is usually manageable with a systematic approach. By verifying power status, clearing physical obstructions, performing resets and calibrations, updating firmware, reviewing error logs, and, if necessary, reaching out to Xerox support, most home‑office users can restore double‑sided printing quickly.
Regular maintenance and mindful paper handling further extend the printer’s lifespan, ensuring that your office documents are produced accurately and efficiently.
Discussion (4)
Join the Discussion
Your comment has been submitted for moderation.
Random Posts

Addressing Apple iPhone 14 Pro Max Battery Drain During Gaming Sessions
Learn why iPhone 14 Pro Max batteries drain during gaming, how to diagnose the issue, and practical tweaks to keep you playing longer with less power loss.
5 months ago

Curing iPhone 14 Plus Charging Port Wear After Daily Fast Charge Cycles
Fast charging can loosen your iPhone 14 Plus port. Learn to spot slow charging and loose cables, then fix it with simple home tricks or long, term prevention.
6 months ago
Xiaomi Mi SmartGlasses 3 Eye Tracking Error Fix
Fix the eye, tracking issue on Mi SmartGlasses 3 with this step, by, step guide to diagnose, clear errors, and restore functionality without repair.
1 year ago

Overcoming Sony X900H Color Saturation Drift During HDR Playback
Discover how to spot and fix color saturation drift on your Sony X900H during HDR playback, tune settings, correct HDR metadata, and keep your scenes vivid and natural.
4 months ago

Remediating Signal Dropout on Bowers & Wilkins PX8 Noise Cancelling Headphones
Discover why the Bowers & Wilkins PX8 may drop sound and how to fix it by tackling interference, low battery, outdated firmware, obstacles and Bluetooth settings for uninterrupted audio
1 week ago
Latest Posts

Fixing the Eufy RoboVac 15C Battery Drain Post Firmware Update
Fix the Eufy RoboVac 15C battery drain after firmware update with our quick guide: understand the changes, identify the cause, and follow step by step fixes to restore full runtime.
5 days ago

Solve Reolink Argus 3 Battery Drain When Using PIR Motion Sensor
Learn why the Argus 3 battery drains fast with the PIR sensor on and follow simple steps to fix it, extend runtime, and keep your camera ready without sacrificing motion detection.
5 days ago

Resolving Sound Distortion on Beats Studio3 Wireless Headphones
Learn how to pinpoint and fix common distortion in Beats Studio3 headphones from source issues to Bluetooth glitches so you can enjoy clear audio again.
6 days ago