Restore a Faulty Timer Sequence on Kenmore KWC1550
Introduction
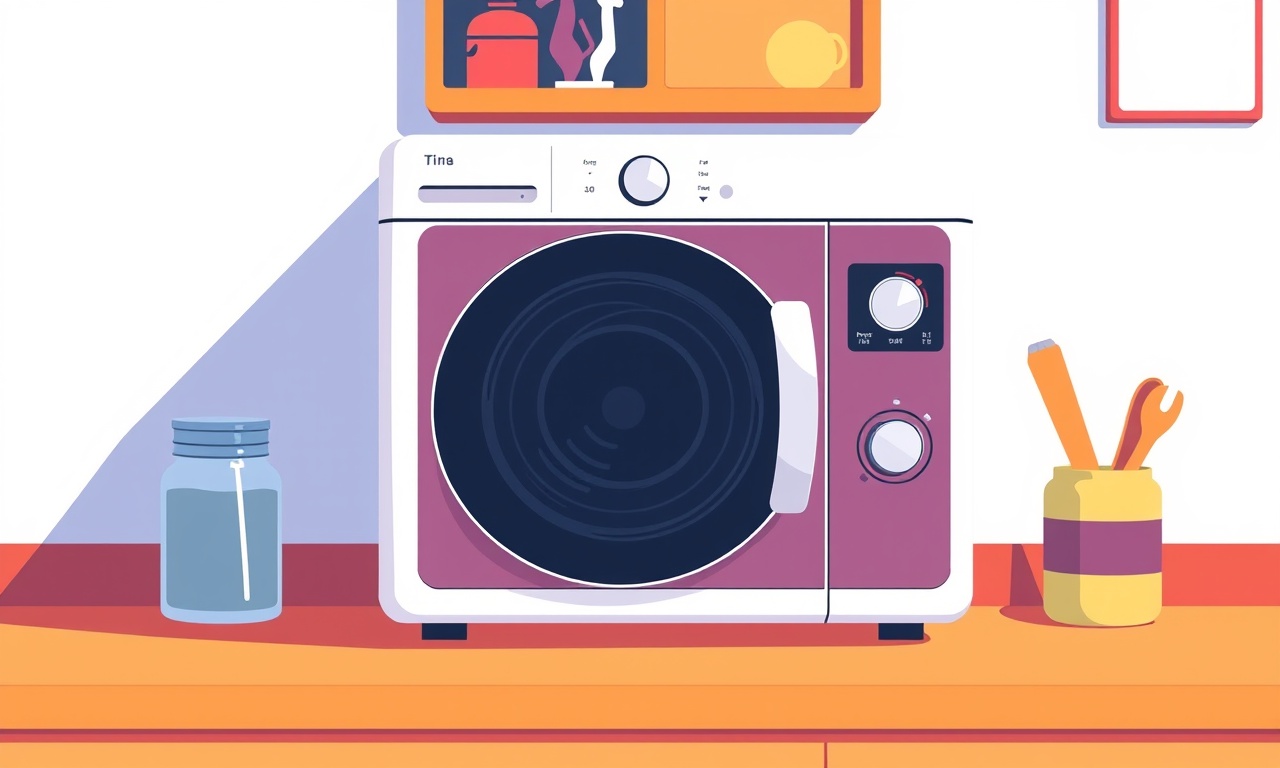
When a Kenmore KWC1550 washer stops following its normal cycle, it often points to a malfunction in the internal timer. The timer controls the entire sequence of water intake, agitation, spin, and drainage. If the timer is out of sync or stuck, the machine may skip stages, repeat a step, or simply stop mid‑cycle. Restoring a faulty timer sequence is a common repair that can be completed with basic hand tools and a clear understanding of the timer’s role in the washer’s operation.
Below is a detailed, step‑by‑step guide that will walk you through safety precautions, diagnostics, disassembly, cleaning, re‑calibration, and testing. The process is designed for owners who are comfortable with basic electrical work and willing to work inside the appliance. If at any point the task feels beyond your skill level, it is wise to contact a professional technician.
Safety First
Electrical Hazard
The washer’s motor and control board draw significant current. Always disconnect the unit from power before beginning any repair.
- Unplug the appliance from the outlet.
- If the washer is hard‑wired, turn off the circuit breaker that feeds the washer’s circuit.
Water Hazard
To avoid flooding the floor or injuring yourself, ensure the water supply lines are turned off and the drain hose is secured.
Protective Gear
Wear safety goggles and gloves to protect against splashes, sharp edges, and accidental electrical contact.
Gather the Necessary Tools and Parts
| Item | Purpose |
|---|---|
| Flat‑head screwdriver | For removing screws on the rear panel. |
| Phillips screwdriver | Some panels may use Phillips screws. |
| Trim panel removal tool | Helps pry the front panel without damaging it. |
| Adjustable wrench | For loosening the water supply fittings. |
| Multimeter (set to DC voltage) | To check the timer’s electrical outputs. |
| Replacement timer module (if needed) | Purchased from an authorized Kenmore parts dealer. |
| Contact cleaner or isopropyl alcohol | For cleaning electrical contacts. |
| Clean, dry rag | For wiping moisture. |
If you do not have a multimeter, you can still complete most steps by visual inspection and by listening for the timer’s operation. However, a multimeter will help confirm whether the timer is providing the correct voltage pulses.
Understanding the Timer’s Role
The Kenmore KWC1550 uses a micro‑controlled electronic timer that is integrated into the main control board. It drives the following functions:
- Water Inlet – opens valves when a fill cycle begins.
- Agitation – signals the motor to run forward or reverse.
- Drainage – triggers the pump and drain valve.
- Spin – commands the motor to spin at high speed.
- Delay / Standby – allows the machine to wait for user input.
When the timer fails, you may notice:
- The machine skips the fill or drain stage.
- It enters a continuous spin without stopping.
- The cycle repeats indefinitely.
- The machine does not start at all after power is restored.
The timer communicates with the motor driver and the solenoid valves through a set of low‑current signal wires. A simple internal fault such as a broken trace, a blown capacitor, or a stuck relay can lead to the symptoms above.
Diagnosing the Problem
1. Observe the Cycle Behavior
- Skip or Repeat – Note which part of the cycle the machine misses or repeats.
- No Start – If the machine never begins a cycle after you press Start, the timer may be completely dead.
2. Visual Inspection
- Remove the rear panel.
- Locate the control board (usually a rectangular metal box near the front).
- Look for any burnt components, cracked capacitors, or discolored solder joints.
- Check the wires connected to the timer module for signs of fraying or corrosion.
3. Test with a Multimeter
If you have a multimeter, check the voltage at the timer’s output pins. The Kenmore KWC1550 typically uses a 12‑volt DC supply for the timer. Use the following steps:
- Set the meter to 20 V DC.
- Place one probe on the positive side of the power rail.
- Place the other probe on each output pin in turn, noting any voltage changes when you press the Start button.
If no voltage appears at the pins when the machine should be running, the timer is not sending signals.
Disassembling the Control Board
Step 1: Remove the Front Panel
- Access the Screws – Look for the screws around the top edge of the front panel.
- Use a Trim Panel Removal Tool – Slide the tool under the panel’s lip and gently pry.
- Disconnect the Wiring Harness – The panel is usually connected by a 5‑wire harness. Detach it by pressing the release tab and pulling.
Step 2: Take Out the Control Board
- Unscrew the Board – The board is fastened by two or three screws on its back.
- Lift Carefully – The board is heavy; lift it straight up and away from the housing.
- Check for Cable Connectors – Keep a record of each connector’s position to avoid mistakes during reassembly.
Tip: While the board is out, take a photo of the back side. It can serve as a reference for connector placement later.
Cleaning and Inspecting the Timer
The timer is a component on the control board. In many Kenmore models, it is a small, rectangular module with a series of pins. Even if the board looks fine, the timer can fail due to debris or moisture.
1. Visual Check
- Look for any bent pins or missing contacts.
- Inspect the solder pads for bridges or cold joints.
2. Clean the Contacts
- Apply a small amount of contact cleaner to a cotton swab.
- Gently wipe each pin and surrounding area.
- Let it dry completely before proceeding.
3. Test the Timer’s Output
If you still have a multimeter:
- Set it to measure 12 V DC.
- Connect the meter to the power rail and a timer output pin.
- Press the Start button and observe whether the voltage pulses.
- If the voltage is absent or irregular, the timer is likely defective.
Replacing the Timer (If Necessary)
1. Purchase the Correct Part
- Order a Kenmore KWC1550 timer module from a reputable dealer or the Kenmore parts website.
- Verify the part number with your washer’s serial number.
2. Install the New Timer
- Align the new timer on the board, matching pin locations.
- Press it firmly until the pins engage.
- Re‑solder if the timer is not a plug‑in module. (Use a soldering iron with a 25 W tip and a steady hand.)
3. Re‑Soldering Basics
- Clean the Pads – Wipe with isopropyl alcohol.
- Flux Application – Apply a small amount of flux to help solder flow.
- Heat the Joint – Hold the tip for a few seconds, then remove.
- Inspect the Joint – It should be smooth and shiny without excess solder.
Reassembly
1. Reconnect Wiring Harnesses
- Attach each harness to its corresponding port, ensuring the connectors sit flush.
- Verify that all pins are fully seated.
2. Mount the Control Board
- Place the board back in its original location.
- Secure it with the screws you removed earlier.
3. Replace the Front Panel
- Connect the wiring harness to the panel’s connector.
- Slide the panel back into place and secure it with screws.
4. Final Checks
- Double‑check all connections.
- Ensure no loose screws or stray wires could contact the motor.
Resetting the Timer Sequence
Even after a physical repair, the timer may need a software reset to re‑sync the cycle steps. On the Kenmore KWC1550, this is a simple procedure:
- Power On – Plug the washer back into the outlet.
- Enter Diagnostic Mode – Press the Start button five times in quick succession.
- Observe the Display – The machine should cycle through a diagnostic routine.
- Wait for Completion – Allow the sequence to finish before testing a normal wash.
If your model does not respond to this method, consult the user manual for the specific diagnostic code sequence. Many Kenmore units use a “0‑0‑0” code to indicate a timer fault; resetting may require a brief power outage (unplug for 60 seconds) followed by a reconnection.
Testing the Repair
After reassembly, it’s crucial to verify that the timer now drives a complete cycle.
1. Perform a Short Cycle
- Select a “Quick Wash” or “Spin Only” cycle, if available.
- Press Start and observe each stage: fill, agitation, drain, spin.
2. Monitor for Issues
- Water Intake – The machine should fill the drum to the appropriate level.
- Agitation – The drum should rotate in both directions.
- Drainage – The pump should activate, emptying the water.
- Spin – The drum should spin at the correct speed.
If any step is missing or incorrect, the timer may still be misaligned. In that case, revisit the diagnostic section.
Troubleshooting Common Problems
Even after a clean replacement or reset, some users report lingering issues. Below are common culprits and solutions.
Problem: Timer Output Still Not Working
- Solution – Check the power supply to the board. A failed 12 V supply can mimic a timer fault.
- Test – Measure 12 V at the board’s power input. If absent, replace the power regulator.
Problem: Motor Not Spinning
- Solution – Verify the motor drive relay is receiving a signal from the timer.
- Check – With a multimeter, measure voltage at the relay coil when the timer should be active.
Problem: Drain Pump Fails to Activate
- Solution – Inspect the drain valve solenoid. A stuck valve can block the pump’s ability to discharge.
- Test – Apply 12 V directly to the valve’s wires and listen for a click.
Problem: The Washer Stalls Mid‑Cycle
- Solution – Look for a shorted connection between the timer outputs and the motor driver. A solder bridge can cause the motor to overheat.
- Fix – Carefully desolder the bridge and re‑solder cleanly.
Preventive Maintenance Tips
- Keep the Control Panel Clean – Dust and grime can accumulate on the board and interfere with contacts.
- Inspect Wires Regularly – Look for frayed insulation or exposed strands.
- Check the Drain Hose – A kink or blockage can create pressure that forces the timer to skip stages.
- Test the Timer Periodically – Use a multimeter to ensure the timer outputs correct pulses.
- Use Quality Replacement Parts – OEM Kenmore parts guarantee compatibility and longevity.
When to Call a Professional
- You encounter electrical issues beyond the scope of a simple timer repair.
- The washer shows signs of a short circuit or excessive heat.
- You are uncomfortable working with the washer’s internal components.
A qualified technician can safely diagnose deeper electrical problems and guarantee proper repair.
Conclusion
Restoring a faulty timer sequence on a Kenmore KWC1550 is a methodical process that combines safety, diagnosis, cleaning, and, if necessary, replacement of the timer module. By following the steps outlined above—starting with a thorough safety check, proceeding through precise disassembly, and concluding with careful reassembly and testing—you can often bring your washer back to reliable operation without the need for a costly service call.
Remember to keep all wiring connectors properly seated, to perform a clean solder job on any new timer, and to run a short test cycle after each major step. With a little patience and attention to detail, you’ll see the timer’s signal light up again, and your Kenmore washer will resume its full cycle of washing, rinsing, and spinning.
Discussion (10)
Join the Discussion
Your comment has been submitted for moderation.
Random Posts

Solving a Persistent Stain Release Issue on Whirlpool WFW5620HW
Tired of spots on your clothes? Discover how to diagnose and fix the stubborn stain release problem on your Whirlpool WFW5620HW with our step-by-step guide.
9 months ago

De'Longhi DL150 Steam Iron Water Recirculation Failure Solution
Trouble with your DeLonghi DL150 steam iron? Learn why water recirculation fails, diagnose the issue, and follow our simple step by step solution to restore steady steam and wrinkle free clothes.
3 months ago

Resolving Lenovo Mirage Solo Bluetooth Pairing Issues
Fix Lenovo Mirage Solo Bluetooth glitches fast with this step by step guide. From simple checks to firmware hacks, reconnect your headset, controllers, and peripherals in minutes.
2 months ago
Lenovo SmartEyewear X Eye Tracking Error Troubleshoot
Get your Lenovo SmartEyewear X eye tracking back with our step-by-step guide. Diagnose glitches, reset settings, and restore smooth gaze navigation quickly.
3 months ago

Calibrating Noise‑Cancellation on Beats Studio Buds
Master Beats Studio Buds ANC: learn the science, step, by, step calibration, and troubleshooting to silence distractions and boost your listening experience.
10 months ago
Latest Posts

Fixing the Eufy RoboVac 15C Battery Drain Post Firmware Update
Fix the Eufy RoboVac 15C battery drain after firmware update with our quick guide: understand the changes, identify the cause, and follow step by step fixes to restore full runtime.
5 days ago

Solve Reolink Argus 3 Battery Drain When Using PIR Motion Sensor
Learn why the Argus 3 battery drains fast with the PIR sensor on and follow simple steps to fix it, extend runtime, and keep your camera ready without sacrificing motion detection.
5 days ago

Resolving Sound Distortion on Beats Studio3 Wireless Headphones
Learn how to pinpoint and fix common distortion in Beats Studio3 headphones from source issues to Bluetooth glitches so you can enjoy clear audio again.
6 days ago