Solving Display Cutout on Lenovo ThinkVision P24h-70 for Home Office Tasks
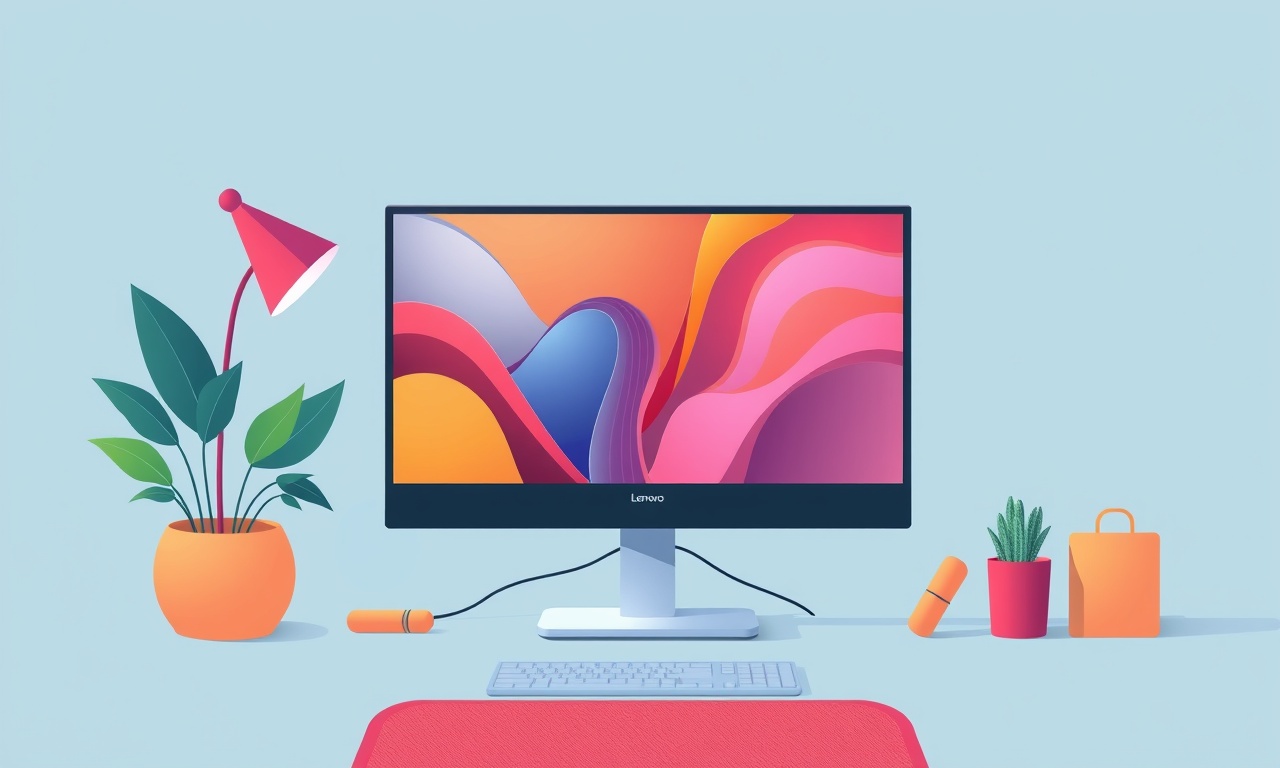
In a modern home office the monitor is the heart of productivity. When a screen has a visible cutout—an area where text, icons or UI elements are clipped or hidden—it can quickly become a source of frustration. The Lenovo ThinkVision P24h‑70, a 24‑inch monitor with a high‑resolution display and a slim bezel, is praised for its clarity and ergonomic design. Yet some users report that the top or side edges of the screen are effectively unusable, especially when using certain operating systems or applications that do not respect the monitor’s physical safe‑area.
Below is a detailed guide that walks through the problem, explores the underlying causes, and offers practical solutions to eliminate or mitigate display cutouts for home‑office workflows. The focus is on the ThinkVision P24h‑70, but many of the steps are applicable to other monitors with similar issues.
What Is a Display Cutout?
A display cutout is a visual gap or “dead zone” on a screen where pixels are missing or where the image is truncated. On the ThinkVision P24h‑70 this can manifest as a small strip along the top edge, or a vertical band on the side, where icons, status bars or application windows do not appear. The cutout is caused by one of several factors:
- Hardware design: The monitor’s internal panel is not perfectly aligned with the outer bezel, creating a physical space that the software must avoid.
- Driver or firmware limits: The graphics driver or monitor firmware may not expose the full resolution or safe‑area to the operating system.
- Operating‑system scaling: High DPI settings or custom scaling profiles can push UI elements beyond the visible area.
- Application window managers: Some programs ignore the safe‑area and extend frames into the cutout zone.
Understanding these root causes helps target the right solution, whether it be a software tweak or a hardware adjustment.
Why Does the ThinkVision P24h‑70 Show a Cutout?
The ThinkVision P24h‑70 uses a 1920 × 1080 panel with a 16:9 aspect ratio. Lenovo’s design team chose a minimal bezel to give a sleek look, but the panel’s active area ends slightly short of the bezel edges. Lenovo exposes the full 1920 × 1080 resolution through the monitor’s EDID, yet the manufacturer recommends a “safe area” of 1920 × 1045 for applications that place UI elements near the top or bottom. This recommendation is embedded in the monitor’s firmware and can conflict with certain operating‑system behaviors.
Additionally, the P24h‑70 is marketed as a workstation‑grade monitor with excellent color accuracy. Its driver stack—particularly the Lenovo Vantage and AMD/Intel/GeForce drivers—sometimes includes “automatic safe‑area” features. These features are designed to prevent text from being cut off on monitors that truly have physical cutouts, but they can misinterpret the P24h‑70’s minimal bezel as a large cutout.
When combined with the default Windows 10/11 scaling of 125 % or 150 % for high‑DPI displays, the UI can be forced into the cutout zone. In contrast, macOS tends to handle the safe‑area better, but it still can display a strip of unused space if the monitor reports a custom EDID.
Step‑by‑Step Troubleshooting Flow
Below is a structured troubleshooting flow. Follow each step in order, and stop if the issue is resolved before moving to the next.
-
Confirm the Cutout Is Not a Display Bug
- Turn the monitor off and unplug it for 30 seconds.
- Re‑plug and power on.
- Check if the cutout persists in the same position.
- If it disappears, a firmware reset may be needed.
-
Verify the Monitor’s EDID and Safe‑Area
- Use a free utility like DisplayCAL or HWiNFO to read the EDID.
- Confirm that the active resolution is 1920 × 1080 and that the monitor reports a Display Area of 1920 × 1045.
- If the EDID is wrong, reset the monitor to factory defaults via the OSD menu.
-
Update Graphics Drivers
- For Intel: Download the latest driver from Intel’s website.
- For AMD: Use AMD Radeon Software.
- For NVIDIA: Use GeForce Experience.
- Restart after installing.
-
Adjust Windows Scaling
- Open Settings → System → Display.
- Set scaling to 100 % (or 125 % if you prefer larger text).
- If you use 125 % or higher, apply Advanced scaling settings → toggle Let Windows try to fix apps so they're not blurry.
-
Use Lenovo Vantage to Disable Safe‑Area
- Open Lenovo Vantage.
- Navigate to Device Settings → Display.
- Find Screen Safe Area or Display Cutout setting.
- Toggle to Off.
- Save and restart the PC.
-
Check Application Window Placement
- Some apps (e.g., web browsers, IDEs) have custom window frames.
- Move the window manually to the middle of the screen to see if content is lost.
- In the app’s settings, disable Enable full-screen mode or Always use window frame.
-
Re‑calibrate Monitor via OSD
- Open the On‑Screen Display (OSD) menu using the monitor’s physical buttons.
- Navigate to Color → Calibration → Reset to Default.
- Re‑apply your preferred color profile.
-
Use a Third‑Party Safe‑Area Tool
- Tools like Display Cutout Remover (free on GitHub) or DisplayCutoutFixer can hide the cutout area from the OS.
- Install, run, and follow the on‑screen instructions.
- Restart the PC.
-
If All Else Fails, Modify the EDID
- Use EDID Designer or Monitor Asset Manager to edit the EDID.
- Reduce the Display Area Height from 1045 to 1080.
- Save as a custom EDID file.
- Load it through your graphics driver (e.g., NVIDIA Control Panel → Set Up G-Sync).
- Caution: Improper EDID editing can cause display blackouts.
-
Contact Lenovo Support
- If the cutout remains after all software tweaks, report it to Lenovo’s customer support.
- Provide them with your EDID dump and a description of the issue.
In‑Depth Look at the Key Fixes
1. Factory Reset and OSD Calibration
The ThinkVision P24h‑70’s OSD menu provides a convenient way to reset the monitor’s settings. A factory reset restores the EDID to the original state, which often clears any accidental changes that introduced a misreported safe‑area.
Power ON → Press the side button →
Navigate: OSD → Settings → Reset → Confirm → Done
After resetting, immediately run an EDID read with HWiNFO. The Display Area should now show 1920 × 1045. This indicates that the monitor will limit the OS to a slightly smaller vertical area. However, many modern drivers ignore this limitation and allow the full 1080 px height. If the driver honors the safe‑area, you will still see a small strip at the top that cannot be used.
2. Lenovo Vantage Safe‑Area Toggle
Lenovo’s Vantage software can hide the safe‑area setting in Windows. Turning it off tells the OS to treat the entire panel as usable. For the P24h‑70, the setting appears under:
Device Settings → Display → Screen Safe Area (Enable / Disable)
When enabled, the OS will subtract 35 px from the top and bottom of the screen. Disabling it restores full height. The downside is that some applications may still place elements in the cutout area, causing them to be clipped. In that case, use the third‑party safe‑area remover.
3. Third‑Party Safe‑Area Removers
Safe‑area tools intercept the OS’s display settings and override the reported safe‑area. They usually present a simple toggle:
- Show safe area: displays a faint outline on the screen indicating the usable zone.
- Disable safe area: removes the restriction entirely.
For example, Display Cutout Remover (GitHub) installs a background service that hooks into the Windows display driver. After a restart, the service reads the monitor’s EDID, calculates the cutout zone, and either removes it or displays an overlay. The user can then move windows freely.
These tools are especially useful if you run applications that are hard to configure, such as full‑screen games or video editing software that ignores the monitor’s safe‑area.
4. Editing the EDID
Editing the EDID is the most technical solution. The EDID file contains a byte that defines the Display Area Height. The typical value for the P24h‑70 is 0x44 (68 decimal) which translates to 1045 px. Changing this to 0x45 (69 decimal) sets the height to 1080 px.
A step‑by‑step guide:
- Open EDID Designer.
- Load the current EDID by clicking Read.
- Navigate to Display Parameters → Vertical Display Size → Height.
- Change the value to 1080.
- Save the new EDID as a .txt or .bin file.
- Use the graphics driver to load the custom EDID.
- For NVIDIA: NVIDIA Control Panel → Set Up G-Sync → Custom EDID.
- For AMD: AMD Radeon Settings → Display → Advanced → Load EDID.
If the monitor reverts to 1045 px after a power cycle, the graphics driver may be overriding the EDID. In that case, consider a driver that allows persistent EDID overrides (e.g., using DisplayCAL’s EDID export feature).
Practical Tips for Home Office Tasks
Even after eliminating the cutout, keep these general practices in mind to maintain a smooth workflow.
Adjusting DPI Settings for Comfort
Higher DPI scaling makes icons larger but can push them into the cutout if the OS still reserves space. If you prefer 125 % scaling:
- Set Advanced scaling settings → Let Windows fix apps.
- Test each major application (Word, Excel, Chrome, Slack) to confirm that titles are not clipped.
Using Virtual Desktops
Windows 10/11 and macOS allow multiple virtual desktops. If a particular application is misbehaving, try opening it on a new virtual desktop and drag it to the center of the screen. This sometimes forces the OS to redraw the window without clipping.
Monitor Profile Calibration
After any adjustment, recalibrate the monitor’s color profile using a hardware colorimeter or DisplayCAL. This ensures that the visual clarity of the screen remains at peak levels. A poorly calibrated display can make subtle cutouts more noticeable.
Keyboard Shortcuts for Window Management
Use native window‑tiling shortcuts to avoid manual resizing:
- Windows:
Win + Arrowkeys. - macOS:
Control + F3(Move focus to Dock), then arrow keys.
These shortcuts position windows neatly within the screen bounds, reducing the risk of them spilling into the cutout.
Common FAQs
Q1: Why does the cutout appear only in some applications?
A1: Some apps use custom window managers that ignore the OS safe‑area, causing their title bars or status bars to extend into the cutout zone. Using a safe‑area remover or adjusting the app’s settings usually resolves the issue.
Q2: Is a cutout a hardware defect?
A2: On the ThinkVision P24h‑70, it is a design feature. The panel’s active area is intentionally smaller than the bezel to provide a clean look. The cutout is not a defect, but it can be mitigated with software.
Q3: Will disabling the safe‑area affect other monitors?
A3: No. The safe‑area setting in Lenovo Vantage is monitor‑specific. Disabling it will only impact the P24h‑70.
Q4: Can I permanently modify the EDID on a laptop with the P24h‑70?
A4: Yes, but you must re‑apply the custom EDID each time the graphics driver updates or the monitor resets. Automate this with a script if you rely on it.
Final Thoughts
A display cutout can be a nuisance, but it rarely signals a hardware failure. The Lenovo ThinkVision P24h‑70’s design leaves a small unused strip, which modern operating systems sometimes misinterpret as a problem zone. By following the structured troubleshooting flow—resetting the monitor, updating drivers, adjusting scaling, and optionally using safe‑area tools or EDID editing—you can reclaim the full screen real estate.
For home‑office users who depend on clear, unobstructed displays for multitasking, the key is to keep the OS and monitor firmware in sync. Regularly check for driver updates, review the EDID, and adjust scaling as your workflow demands. With these practices, the P24h‑70 will continue to provide crisp visuals and a comfortable working environment.
Resources
- Lenovo Vantage Help Center – Instructions for adjusting display settings.
- DisplayCAL – Open‑source color calibration and EDID editing.
- EDID Designer – Commercial tool for safe‑area overrides.
- Display Cutout Remover – GitHub project for Windows safe‑area removal.
- HWiNFO – Free system information tool with EDID reading capability.
Use these resources to verify your setup and to troubleshoot any remaining issues. A well‑configured monitor is the cornerstone of a productive home office.
Discussion (10)
Join the Discussion
Your comment has been submitted for moderation.
Random Posts

Solving a Persistent Stain Release Issue on Whirlpool WFW5620HW
Tired of spots on your clothes? Discover how to diagnose and fix the stubborn stain release problem on your Whirlpool WFW5620HW with our step-by-step guide.
9 months ago

De'Longhi DL150 Steam Iron Water Recirculation Failure Solution
Trouble with your DeLonghi DL150 steam iron? Learn why water recirculation fails, diagnose the issue, and follow our simple step by step solution to restore steady steam and wrinkle free clothes.
3 months ago

Resolving Lenovo Mirage Solo Bluetooth Pairing Issues
Fix Lenovo Mirage Solo Bluetooth glitches fast with this step by step guide. From simple checks to firmware hacks, reconnect your headset, controllers, and peripherals in minutes.
2 months ago
Lenovo SmartEyewear X Eye Tracking Error Troubleshoot
Get your Lenovo SmartEyewear X eye tracking back with our step-by-step guide. Diagnose glitches, reset settings, and restore smooth gaze navigation quickly.
3 months ago

Calibrating Noise‑Cancellation on Beats Studio Buds
Master Beats Studio Buds ANC: learn the science, step, by, step calibration, and troubleshooting to silence distractions and boost your listening experience.
10 months ago
Latest Posts

Fixing the Eufy RoboVac 15C Battery Drain Post Firmware Update
Fix the Eufy RoboVac 15C battery drain after firmware update with our quick guide: understand the changes, identify the cause, and follow step by step fixes to restore full runtime.
5 days ago

Solve Reolink Argus 3 Battery Drain When Using PIR Motion Sensor
Learn why the Argus 3 battery drains fast with the PIR sensor on and follow simple steps to fix it, extend runtime, and keep your camera ready without sacrificing motion detection.
5 days ago

Resolving Sound Distortion on Beats Studio3 Wireless Headphones
Learn how to pinpoint and fix common distortion in Beats Studio3 headphones from source issues to Bluetooth glitches so you can enjoy clear audio again.
6 days ago