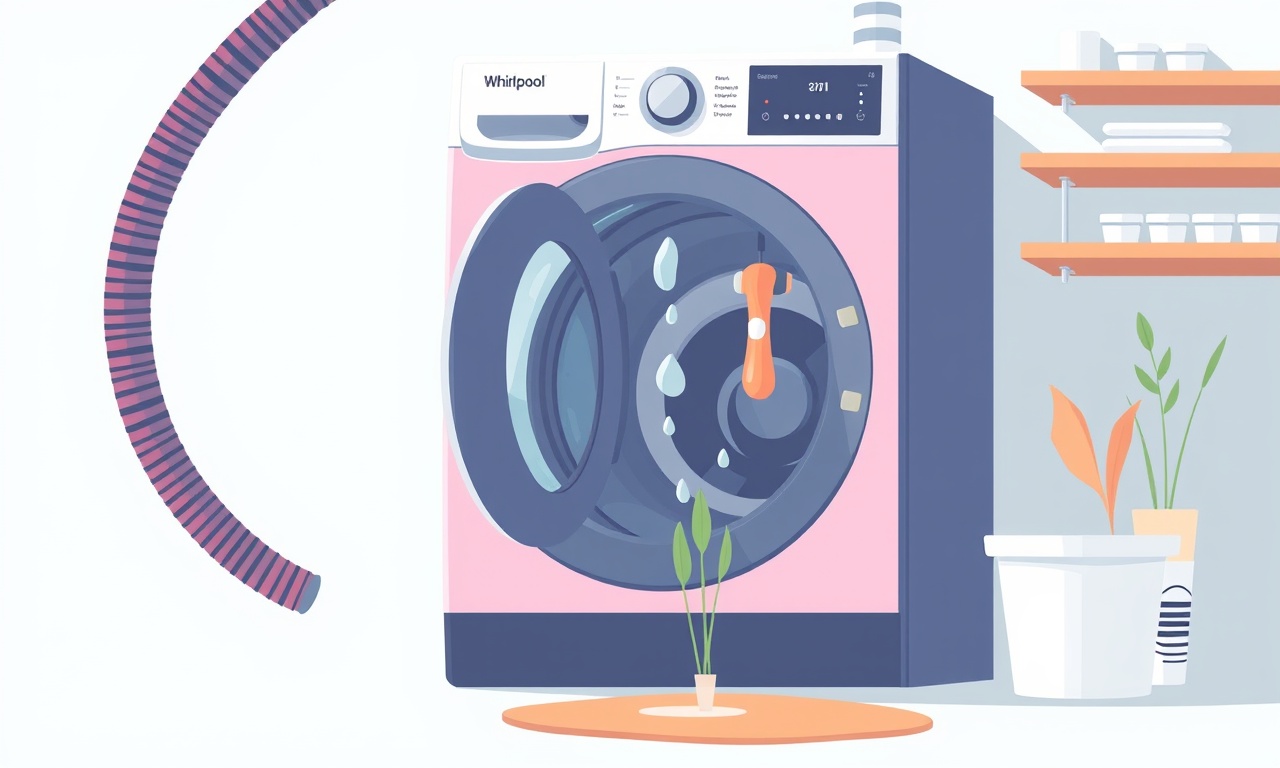
Stop a Persistent Leak from the Drain Hose on Whirlpool WFW5900
When a Whirlpool WFW5900 begins to leak from its drain hose, it can be a persistent nuisance that interferes with laundry routines and may cause damage to flooring if left unchecked. Rather than calling a professional immediately, many homeowners find that a systematic approach to diagnosing and fixing the problem can save both time and money. This guide walks through every step needed to stop a leaking drain hose, from safety checks to parts replacement and final testing.
Why the Leak Happens
A leaking drain hose in a front‑load washer can be caused by several common issues:
- Damaged or cracked hose – Over time, hoses develop micro‑cracks that become visible only when the machine is in use.
- Worn or mis‑aligned O‑rings – The rubber seals that keep water from escaping can deteriorate or shift.
- Loose or corroded clamps – The metal fasteners that hold the hose to the machine or the drain fitting can lose tension or rust.
- Improper hose installation – Using the wrong size or not ensuring a snug fit can cause leaks at the connection points.
- High water pressure – Excess pressure can force water through even minor imperfections.
Understanding the root cause helps you choose the correct solution and avoid repeating the problem.
Prepare Yourself
Before you start, gather the following items and follow these safety steps:
- Unplug the machine – Always disconnect the washer from the power outlet to eliminate any risk of electric shock.
- Turn off the water supply – Close both the hot and cold water valves under the sink or at the supply line.
- Place a towel or shallow tray – Lay a clean towel or a shallow container on the floor beneath the washer to catch any residual water.
- Get the right tools – You’ll need a wrench or adjustable pliers, a replacement drain hose (the exact length for the WFW5900 is usually 2‑3 feet), a new set of O‑rings, and a small flat‑head screwdriver.
With the machine turned off and water shut, you’re ready to investigate the leak.
Locate the Leak
- Run a test cycle – Plug the washer back in, open the water valves, and run a short spin cycle. Observe where water is escaping.
- Check the hose ends – The most common places for leaks are:
- The inlet where the hose attaches to the machine’s drain valve.
- The outlet where the hose meets the household drain or sink drainpipe.
- Any kinks or bends along the hose’s length.
- Feel for moisture – While the machine is running, lightly touch the hose to feel for damp spots. Avoid touching the hot water side when the machine is active.
If the leak is coming from the inlet or outlet, the problem is likely at the connection points. If the leak is mid‑hose, the hose itself is probably damaged.
Inspect the Hose and Fittings
Check the Hose for Physical Damage
- Look for cracks or holes – Inspect the entire length of the hose. Even a small crack can become a significant leak when water pressure increases.
- Feel for brittleness – Gently bend the hose; a healthy hose should flex without cracking or making a harsh noise.
Examine the Hose Clamps and O‑Rings
- Remove the hose – Use pliers or a wrench to loosen the clamp at the machine side. Gently pull the hose away from the valve.
- Inspect the O‑ring – The washer’s drain valve typically uses an O‑ring to seal. Look for:
- Wear or flattening – A flattened ring can’t create a proper seal.
- Cracks or tears – Even a hairline split can cause leakage.
- Check clamp tension – A loose clamp will allow the hose to shift, creating gaps for water to escape. Tighten the clamp until it feels secure but not overtightened (over‑tightening can damage the hose).
Repeat the same process for the clamp where the hose meets the household drain. Often the household side has a standard compression fitting that also relies on an O‑ring.
If you discover any of the above issues, you’ll need to replace the damaged components.
Replace the Hose (If Needed)
A damaged hose is the most common culprit in leaking drain hoses. Here’s how to replace it:
- Remove the old hose – Unbolt or unscrew the clamps on both ends. Keep the new hose handy so you can install it without delays.
- Attach the new hose to the machine – Slide the new hose onto the machine’s drain valve, ensuring the O‑ring sits correctly in its groove. Tighten the clamp until it is snug, then hand‑tighten the screw or bolt. Avoid overtightening.
- Connect the hose to the household drain – Insert the other end of the hose into the compression fitting. Make sure the O‑ring inside the fitting is seated properly. Tighten the nut until it is firm.
- Check for kinks – While the hose is still loose, make sure it doesn’t bend at a sharp angle or cross itself. The path should be as straight as possible.
- Re‑attach any removed components – If you had to remove a filter or a drain screen, put them back in place.
If you’re not comfortable replacing the hose yourself, you can purchase a pre‑assembled drain hose kit that includes all necessary fittings and O‑rings for the WFW5900.
Tighten and Secure All Connections
Even a new hose can start leaking if it isn’t secured correctly. After installing the new hose:
- Re‑check all clamps – Make sure each clamp is properly tightened. The standard approach is a firm hand‑tightening followed by an additional half turn with the wrench.
- Verify O‑ring placement – The O‑ring should lie flat and centered in its groove. It should not be twisted or displaced.
- Inspect the household drain fitting – The compression nut should be snug and not wobbly. If it feels loose, tighten it further. If the fitting is corroded, you may need to replace it with a new compression fitting.
Test the Repair
With everything in place, it’s time to run a full cycle to confirm the leak is fixed.
- Plug the washer back in – Ensure the power cord is in good condition.
- Open the water valves – Let both hot and cold water supply the washer.
- Select a wash or spin cycle – Run a cycle that uses the maximum drain capacity (often a rinse or spin cycle is best).
- Observe the hose – Watch the entire length of the hose and both connection points. Look for any signs of dripping or moisture.
- Listen for unusual noises – A loose hose may create a rattling or ticking sound during operation.
- Check the floor – After the cycle ends, look for any damp patches on the floor or floor drain.
If no leaks are visible and the floor stays dry, the repair is successful. If you still see water escaping, repeat the inspection steps. Common reasons for a persistent leak after replacing the hose include a faulty O‑ring, a loose clamp, or a corroded fitting.
Quick Reference: Parts You Might Need
| Component | Description | Typical Replacement |
|---|---|---|
| Drain hose | Flexible tubing that carries water from the washer to the drain | 2‑3 foot hose with 1‑inch diameter |
| O‑ring | Rubber seal in the hose clamp | Standard 1‑inch O‑ring |
| Hose clamp | Metal or plastic clamp that secures the hose | Adjustable clamp, 1‑inch |
| Compression fitting | Connects the hose to the household drain | 1‑inch compression fitting |
| Washer drain valve | The machine’s internal valve where the hose attaches | Usually stays intact |
You can find these parts at most hardware stores, home appliance repair shops, or online retailers. When ordering, double‑check that the dimensions match the WFW5900 specifications.
Preventing Future Leaks
Once you’ve fixed the leak, keep it that way with these maintenance tips:
- Regularly inspect hoses – Every six months, pull the hoses out of their clamps and look for cracks or brittleness.
- Check clamps monthly – Tighten them lightly if they feel loose, but avoid overtightening.
- Keep the drain clear – Remove lint and debris from the drain hose and household drain regularly.
- Use proper water pressure – If your home’s water pressure is excessively high, consider installing a pressure regulator.
- Replace hoses periodically – Even if no leaks are visible, replace the hose every 4‑5 years as a preventive measure.
Frequently Asked Questions
Can I use a hose from another washer model?
It’s best to use a hose that is specifically rated for the Whirlpool WFW5900. While the dimensions may be similar, the fittings and O‑ring sizes can vary. Using an incompatible hose can create a poor seal and cause new leaks.
How do I know if the O‑ring is the problem?
If the hose is intact and the clamp is secure but the leak persists, the O‑ring may be worn. You can test the O‑ring by removing it and examining it for cracks, thinning, or flattening. A fresh O‑ring will be firm and smooth.
What if the leak comes from the washer’s drain valve itself?
If the leak originates at the drain valve (the metal part inside the washer), the valve may need to be repaired or replaced. This is more complex and may require a professional technician. However, a damaged drain valve is relatively rare compared to hose issues.
Is there a risk of water damage if I ignore the leak?
Yes. Persistent leaks can damage the cabinet floor, create mold growth, and cause electrical hazards if water reaches wiring. It’s best to address leaks promptly.
How can I ensure the new hose is installed correctly?
When installing the new hose, always:
- Keep the hose straight and avoid sharp bends.
- Seat the O‑ring properly before tightening the clamp.
- Tighten each clamp incrementally, checking for gaps after each adjustment.
- Verify no air pockets exist by running a small test cycle before a full wash.
What should I do if the leak is at the household drain fitting?
If the leak is at the household drain side, inspect the compression fitting and O‑ring. You may need to replace the fitting entirely if it’s corroded. A simple repair often involves tightening the compression nut or installing a new compression fitting kit.
Final Thoughts
A persistent leak from the drain hose on a Whirlpool WFW5900 can be unsettling, but it is rarely a sign of a major failure. By following a systematic approach—safety first, thorough inspection, correct parts replacement, and careful testing—you can eliminate the leak and restore the washer’s performance. Regular maintenance checks will help you catch potential problems early, preserving both your appliance and your flooring. With these steps, you’ll have peace of mind knowing your washer is leak‑free and ready to tackle the laundry load again.
Discussion (7)
Join the Discussion
Your comment has been submitted for moderation.
Random Posts

Solving a Persistent Stain Release Issue on Whirlpool WFW5620HW
Tired of spots on your clothes? Discover how to diagnose and fix the stubborn stain release problem on your Whirlpool WFW5620HW with our step-by-step guide.
9 months ago

De'Longhi DL150 Steam Iron Water Recirculation Failure Solution
Trouble with your DeLonghi DL150 steam iron? Learn why water recirculation fails, diagnose the issue, and follow our simple step by step solution to restore steady steam and wrinkle free clothes.
3 months ago

Resolving Lenovo Mirage Solo Bluetooth Pairing Issues
Fix Lenovo Mirage Solo Bluetooth glitches fast with this step by step guide. From simple checks to firmware hacks, reconnect your headset, controllers, and peripherals in minutes.
2 months ago
Lenovo SmartEyewear X Eye Tracking Error Troubleshoot
Get your Lenovo SmartEyewear X eye tracking back with our step-by-step guide. Diagnose glitches, reset settings, and restore smooth gaze navigation quickly.
3 months ago

Calibrating Noise‑Cancellation on Beats Studio Buds
Master Beats Studio Buds ANC: learn the science, step, by, step calibration, and troubleshooting to silence distractions and boost your listening experience.
10 months ago
Latest Posts

Fixing the Eufy RoboVac 15C Battery Drain Post Firmware Update
Fix the Eufy RoboVac 15C battery drain after firmware update with our quick guide: understand the changes, identify the cause, and follow step by step fixes to restore full runtime.
5 days ago

Solve Reolink Argus 3 Battery Drain When Using PIR Motion Sensor
Learn why the Argus 3 battery drains fast with the PIR sensor on and follow simple steps to fix it, extend runtime, and keep your camera ready without sacrificing motion detection.
5 days ago

Resolving Sound Distortion on Beats Studio3 Wireless Headphones
Learn how to pinpoint and fix common distortion in Beats Studio3 headphones from source issues to Bluetooth glitches so you can enjoy clear audio again.
6 days ago