Unblocking the Shark ION F80 Pro Brush During Edge Cleaning
When the Shark ION F80 Pro starts to struggle along the edges of a room, a blocked brush can be the culprit.
Even a small obstruction can reduce suction, change cleaning patterns, and lead to frustration for the user.
Below is a comprehensive, step‑by‑step guide to unblock the brush during edge cleaning, ensuring that your robot vacuum regains optimal performance.
Understanding the Edge Cleaning Mechanism
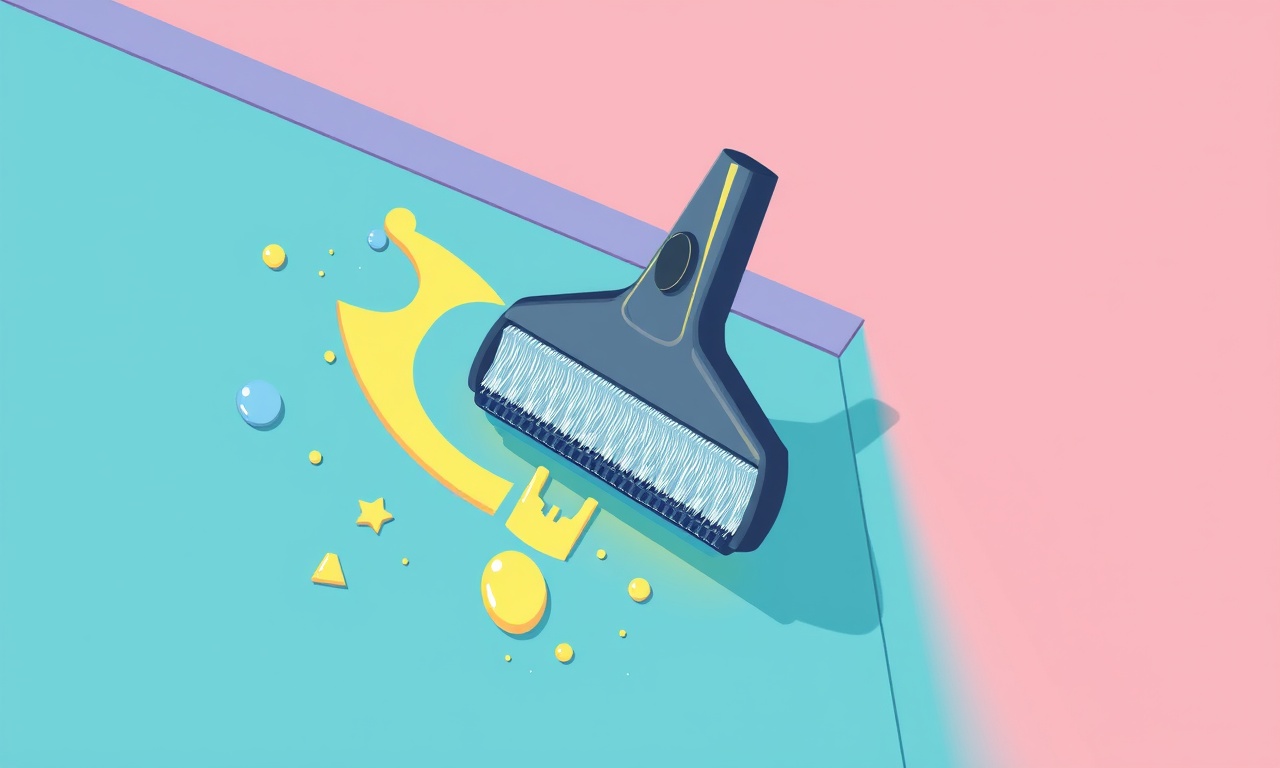
The edge‑cleaning brush on the Shark ION F80 Pro is a critical component that allows the robot to glide along walls, corners, and furniture legs.
It is a self‑driven brush that spins on a set of bearings, with rubber bristles that catch hair, pet fur, and debris.
Because the brush sits close to the floor and often encounters tight spaces, it is particularly susceptible to tangles and blockages.
Knowing how the brush operates helps you identify where blockages may occur and what tools you’ll need to resolve them.
Common Causes of Brush Blocking
- Tangled hair or pet fur – The most frequent offender.
- Thread, yarn, or string – Especially problematic in households with kids or those who leave stray yarn on the floor.
- Small objects (coins, beads, buttons) – Can become lodged between the brush and the robot’s base.
- Damaged or bent bristles – May snag on edges or small debris.
- Worn bearings – Over time, bearings may lose lubrication and seize.
Recognizing these causes early on will save you time and help you prevent future blockages.
Safety Precautions Before You Start
- Unplug the robot – Even though the ION F80 Pro uses a rechargeable battery, disconnecting it from the charger ensures a completely dead power source.
- Place the robot on a flat, stable surface – Avoid tilting it, which could cause components to shift.
- Wear gloves – Protect your hands from sharp edges and tangled hair.
- Keep a small flashlight handy – The brush area can be dimly lit.
These steps reduce the risk of injury and make the cleaning process smoother.
Step 1: Power Off and Unplug
- Press the power button on the robot until the light turns off.
- Detach the charging dock from the robot.
- If the robot is on a floor mat or a carpeted surface, move it to a cleaner area for easier access.
Step 2: Remove the Brush Assembly
The Shark ION F80 Pro’s brush is mounted on a small, circular housing that sits beneath the main body.
- Locate the rubber “wheel” that sits directly in front of the brush.
- Gently push the wheel toward the front of the robot.
- The wheel will pop up, revealing a small, circular plate that holds the brush.
- Twist the plate counter‑clockwise to release the brush from its mounting pin.
- Carefully lift the brush out of its housing.
Tip: Keep the plate in a safe place; you’ll need it to re‑install the brush later.
Step 3: Inspect for Debris
With the brush removed, you can now examine the interior.
- Hold the brush up to a light source.
- Look for any visible tangles, foreign objects, or bent bristles.
- If you see a tangle, gently pull it out.
- Use a small pair of tweezers or a hair pin to remove any lodged items such as coins or beads.
Step 4: Identify Tangled Hair, Thread, or Yarn
When hair or pet fur wraps around the brush shaft, it can create a tight knot that stops the brush from spinning.
- Run your fingers along the shaft.
- If the shaft feels stiff, it is likely encircled by a tangle.
- Use a pair of scissors or your fingers to cut or loosen the hair, starting from the outer edge and working inward.
- After cutting, gently pull the hair out in one direction.
If you encounter thread or yarn, cut it close to the shaft and remove it carefully.
Avoid pulling too hard, as this can bend or damage the shaft.
Step 5: Remove Debris from the Brush Bristles
Sometimes debris accumulates inside the bristles themselves, especially in tight corners.
- Hold the brush with the bristles facing up.
- Tap gently on a hard surface to dislodge loose particles.
- If there is still residue, use a small brush or a toothbrush to sweep the bristles.
- Rinse the bristles with lukewarm water, then let them dry completely before reassembly.
Note: Do not use soap or harsh cleaners, as they can damage the rubber.
Step 6: Check Brush Bristles for Damage
Damaged or broken bristles can snag on edges and cause blockages.
- Inspect each bristle for bends, cracks, or missing sections.
- If you find damaged bristles, replace the entire brush assembly.
The ION F80 Pro offers a replacement brush that can be purchased through the manufacturer’s website or authorized retailers.
Step 7: Inspect the Motor and Bearings
A blocked brush can also be caused by a seized motor or bearings.
- Look for any visible foreign objects lodged near the brush’s motor housing.
- If you see debris, remove it with tweezers.
- If the motor feels stiff or refuses to spin when you gently turn it, this may indicate a worn bearing.
- In this case, it is safest to contact Shark customer support for a repair or replacement.
Step 8: Reassemble and Test
Once the brush is free of debris and all components are dry:
- Place the brush back into its housing.
- Align the mounting pin with the brush shaft.
- Twist the plate clockwise until it locks into place.
- Push the rubber wheel back toward the rear of the robot until it clicks.
- Re‑attach the charging dock.
After reassembly, run a short test cycle:
- Turn the robot on.
- Place it in a small room with a clear floor.
- Observe whether the brush spins freely and the robot navigates edges smoothly.
- Listen for any unusual noises.
If the robot still struggles, repeat steps 3–7 to double‑check for missed debris.
Step 9: Cleaning Maintenance Schedule
Regular maintenance prevents future blockages.
- Weekly: Pull the brush out and inspect for hair or thread.
- Monthly: Use a brush or a small vacuum to clean the base and surrounding area.
- Quarterly: Replace the brush if you notice excessive wear or if the suction has dropped by more than 20%.
Maintaining a consistent cleaning schedule keeps your robot performing at peak efficiency.
Troubleshooting Common Issues
| Symptom | Likely Cause | Fix |
|---|---|---|
| Brush does not spin | Tangled hair or foreign object | Remove the brush and clean thoroughly |
| Brush spins slowly | Worn bearings | Replace bearings or contact support |
| Robot stops near walls | Brush blockage or edge sensor misalignment | Clean brush and check sensors |
| Sudden drop in suction | Debris in dustbin or brush | Empty dustbin, clean brush, and run test |
If you encounter an issue that persists after following the guide, reach out to Shark’s support hotline or visit their online help center for additional troubleshooting steps.
Advanced Tips
- Use a Hair Removal Tool – A specialized tool with a rotating head can remove hair more efficiently than scissors.
- Keep a Hair Brush Handy – Place a small comb near your living area to quickly pick up hair before it accumulates.
- Pet Care – Brush pets regularly to reduce the amount of loose hair that ends up on your floors.
- Child‑Safe Zones – Keep children away from loose threads or yarn when they are playing on the floor.
Implementing these practices reduces the frequency of brush blockages and saves you time.
FAQ
How often should I replace the brush?
Replace it every 6–12 months, or sooner if you notice significant wear or a loss of suction.
Can I use a regular vacuum to clean the brush?
Yes, a small handheld vacuum can be used to suck out loose hair. Avoid using a full‑size vacuum on the brush, as the suction may damage the rubber.
What if the brush is still blocked after cleaning?
Check for hidden debris in the motor housing or consider replacing the entire brush assembly. If the issue persists, contact customer support.
Conclusion
A blocked brush during edge cleaning is a common but straightforward issue to resolve. By following the steps outlined above, you’ll restore the Shark ION F80 Pro’s edge‑cleaning performance and prolong the life of its components.
Regular maintenance, a keen eye for debris, and quick action whenever a blockage occurs will keep your floors consistently clean and your robot running like new.
Discussion (5)
Join the Discussion
Your comment has been submitted for moderation.
Random Posts

Rebooting Google Nest Hub (3rd Gen) to Resolve App Sync Glitches
Stuck with delayed notifications, unresponsive tiles, or stale smart, home data? A simple reboot of your Nest Hub 3rd Gen clears cache, resets processes, and restores smooth app sync.
3 months ago

Fixing Bluetooth Signal Drops on Apple AirPods Pro
Tired of AirPods Pro disconnecting during walks or workouts? Learn why Bluetooth drops happen, how to spot them, and quick fixes - no coding required - to keep audio flowing.
11 months ago

Fixing the Duplexer Failure on a Brother MFC‑J805DW
Learn how to diagnose and replace a faulty duplexer on your Brother MFC, J805DW, restoring double, sided printing with step, by, step instructions for tech, savvy users.
10 months ago

Solving Apple iPhone 13 Pro Camera Rolling Shutter With External Lens
Stop the slanted look from rolling shutter when adding external lenses to your iPhone 13 Pro by tweaking camera settings, choosing the right lens, and using proper stabilization.
9 months ago

Restoring Bandwidth on Amazon Eero Mesh 6 Pro After a Firmware Update
After an Eero Mesh 6 Pro firmware update, bandwidth often drops. This guide explains why the change occurs and walks you through quick steps to restore full speed and a stable connection for work and play.
8 months ago
Latest Posts

Fixing the Eufy RoboVac 15C Battery Drain Post Firmware Update
Fix the Eufy RoboVac 15C battery drain after firmware update with our quick guide: understand the changes, identify the cause, and follow step by step fixes to restore full runtime.
5 days ago

Solve Reolink Argus 3 Battery Drain When Using PIR Motion Sensor
Learn why the Argus 3 battery drains fast with the PIR sensor on and follow simple steps to fix it, extend runtime, and keep your camera ready without sacrificing motion detection.
5 days ago

Resolving Sound Distortion on Beats Studio3 Wireless Headphones
Learn how to pinpoint and fix common distortion in Beats Studio3 headphones from source issues to Bluetooth glitches so you can enjoy clear audio again.
6 days ago