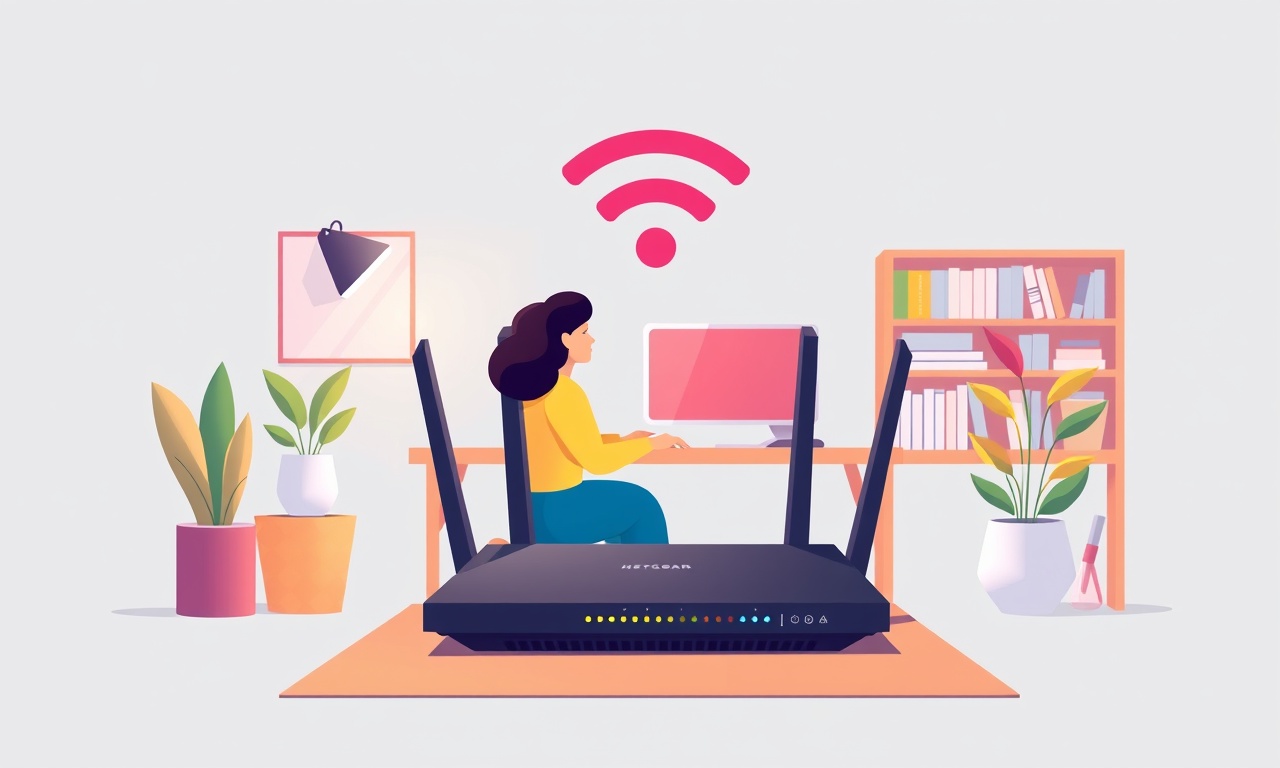
Bringing Home Office WiFi Back After a Firmware Reset on Netgear Nighthawk R7000X
When a firmware reset wipes a Netgear Nighthawk R7000X, the device reverts to factory defaults.
All custom SSIDs, passwords, encryption settings, VLANs, and advanced QoS rules vanish.
For many home‑office users, this means a sudden loss of secure, reliable connectivity that was previously tailored to a specific workflow.
Below is a comprehensive, step‑by‑step guide that walks you through restoring Wi‑Fi after a firmware reset.
The instructions cover every stage—from physically reconnecting the router to verifying that your home‑office network is back up and running.
Follow them carefully, and you will regain the same performance you had before the reset, if not better, because this process gives you a chance to re‑optimize settings.
What a Firmware Reset Does
A firmware reset erases the router’s configuration files, not the hardware.
The reset is akin to restoring a computer to its original state.
The R7000X will boot with default settings:
- SSID: “Netgear_R7000X”
- Password: blank (open network)
- DHCP: enabled, range 192.168.0.100‑192.168.0.199
- LAN IP: 192.168.0.1
- WAN: automatic (DHCP from ISP)
Because these defaults are insecure and not optimized for a home‑office environment, you need to reconfigure everything manually.
Before You Start
-
Gather Your Information
• Old SSID and Wi‑Fi password (if you still remember them).
• Any static IP addresses or DNS settings you had previously configured.
• Your ISP’s connection details (PPPoE credentials, static IP, or DHCP). -
Prepare a Computer
Use a laptop or desktop that can connect to the router either via Ethernet or the default Wi‑Fi network.
Ethernet is recommended because the default Wi‑Fi network is open and may be interfered with by other devices. -
Check Your Internet Connection
If you’re using a DSL or cable modem, verify that it’s connected properly and that your ISP is not experiencing outages.
Step 1: Physically Connect the Router
- Power off the router and disconnect it from the power source.
- Connect the router’s Ethernet port to the modem using an Ethernet cable.
- Plug the router back into the power outlet.
- Wait until the router’s status lights stabilize (typically 1–2 minutes).
During this time, the router will automatically request an IP address from your ISP if your connection type is DHCP.
If your ISP uses PPPoE, you’ll need to enter the credentials later.
Step 2: Log Into the Router’s Web Interface
-
On your computer, open a web browser.
-
Enter the default IP address:
http://192.168.0.1or simply typehttp://routerlogin.net. -
You should see the Netgear login screen.
-
The default login credentials are:
- Username:
admin - Password:
password
(If these do not work, try an empty password.)
- Username:
-
Once logged in, you’ll see the “Dashboard” page that shows the router’s status.
Step 3: Verify Firmware Version
- In the left navigation pane, click Advanced > Setup > Firmware Update.
- The current firmware version will be displayed.
- If you suspect the firmware was corrupted during the reset, consider downloading the latest firmware from the Netgear website and flashing it manually.
- Click Download next to the latest firmware.
- Once the file is downloaded, click Upload and select the file.
- Follow the on‑screen prompts to complete the firmware update.
Tip
A stable firmware version reduces the chance of future resets and improves security patches.
Step 4: Reconfigure Basic Network Settings
LAN Settings
- Navigate to Advanced > Setup > LAN Setup.
- Ensure the IP Address matches your home network’s subnet (e.g., 192.168.1.1).
- Adjust the IP Address Range if you had a custom DHCP range.
- Click Apply.
WAN Settings
- Go to Advanced > Setup > WAN Setup.
- Select the correct connection type:
- Dynamic IP (DHCP) for most cable/DSL connections.
- PPPoE if your ISP requires a username and password.
- Enter your ISP credentials if needed.
- Click Apply.
Step 5: Restore Wireless Settings
SSID and Password
-
Click Advanced > Setup > Wireless Settings.
-
Under Wireless Network:
- Wireless Network Name (SSID): type your desired network name.
- Security: choose WPA2-PSK (AES) for maximum security.
- Wireless Password: enter a strong password (at least 12 characters).
-
If you prefer to keep the SSID and password from before the reset, simply re-enter them.
-
Click Apply.
Dual‑Band Configuration
- Still in Wireless Settings, scroll to the bottom for Advanced Wireless Settings.
- Configure the 2.4 GHz band and the 5 GHz band separately:
- 2.4 GHz: set channel to “Auto” or channel 6 if interference is low.
- 5 GHz: set channel to “Auto” or channel 36.
- Confirm that Transmit Power is set to “Auto” for best coverage.
- Click Apply.
Guest Network (Optional)
- In Advanced > Setup > Guest Network, enable the guest network if you want visitors to use a separate SSID.
- Set a distinct SSID and password for the guest network.
- Choose whether to allow guest devices to access the local network or restrict them.
- Click Apply.
Step 6: Secure Your Network Further
Firmware Update Reminder
If you haven’t already, double‑check that your firmware is the latest.
The R7000X often receives security patches.
Change Default Admin Password
- Go to Advanced > Administration > Password.
- Enter a new strong password (minimum 8 characters, mix of letters, numbers, symbols).
- Click Apply.
Enable MAC Address Filtering (Optional)
If you want to restrict which devices can connect:
- Click Advanced > Setup > Access Control.
- Enable Access Control and set the mode to White List.
- Add the MAC addresses of authorized devices.
- Click Apply.
Disable WPS
WPS is convenient but vulnerable to brute‑force attacks:
- In Advanced > Setup > Wireless Settings, scroll to the bottom.
- Disable Wi‑Fi Protected Setup (WPS).
- Click Apply.
Step 7: Test Connectivity
- On a laptop or mobile device, connect to the new SSID.
- Verify that you can reach the internet by opening a web browser and navigating to a secure site (e.g., https://www.google.com).
- Test local network sharing if you rely on shared drives or printers.
- Use the router’s Diagnostic Tools (found under Advanced > Advanced Setup > Network Tools) to ping your gateway, ISP, and external sites.
Step 8: Save and Backup Your Configuration
- In the router’s web interface, navigate to Advanced > Backup & Restore.
- Click Download to save a copy of your configuration file (
*.cfg) to your computer. - Store the file in a secure location.
- If you want to create a backup after each major change, repeat this step.
Step 9: Use the Netgear Genie App for Future Management
The Netgear Genie mobile app provides a user‑friendly way to monitor and manage your router:
- Download the Genie app from the App Store or Google Play.
- Open the app and select your router from the list.
- Log in with your admin credentials.
- The app allows you to view signal strength, bandwidth usage, connected devices, and perform quick firmware updates.
Step 10: Advanced Troubleshooting
1. Wireless Network Not Appearing
- Ensure that the Wireless switch on the router’s front panel is turned on.
- Verify that you have enabled Wireless in the web interface: Advanced > Setup > Wireless Settings > Enable Wireless.
- Check for signal interference: turn off nearby Wi‑Fi devices or change the channel.
2. DHCP Leases Not Issued
- Go to Advanced > Setup > LAN Setup.
- Make sure DHCP Server is enabled.
- Verify that the DHCP IP Address Range does not conflict with your static IP addresses.
3. No Internet Connection After Reset
- Confirm that the modem is powered on and that its LEDs indicate an active connection.
- Reboot the modem and router in that order.
- If your ISP uses PPPoE, double‑check the credentials.
- Contact your ISP if the connection still fails.
4. NAT Loopback Issues (Accessing Internal Server from Outside)
- Enable NAT Loopback in Advanced > Advanced Setup > Port Forwarding > NAT Loopback.
- Save the configuration.
5. Wireless Speed Problems
- Move the router to a central, elevated location.
- Minimize physical obstructions and electronic interference.
- Consider using the 5 GHz band for high‑bandwidth tasks like video conferencing.
Recap of Key Actions
| Action | Why It Matters |
|---|---|
| Connect via Ethernet | Provides a stable, interference‑free link during setup |
| Update firmware | Ensures security patches and bug fixes are in place |
| Reconfigure SSID & password | Protects your network from unauthorized access |
| Enable WPA2-PSK (AES) | Delivers strong encryption |
| Backup configuration | Quick recovery in case of future resets |
| Use Netgear Genie | Simplifies ongoing management |
Final Thoughts
A firmware reset on a Netgear Nighthawk R7000X is a clean slate—one that can be both a blessing and a hurdle.
By following the steps above, you can restore your home‑office Wi‑Fi with confidence, making sure that all the custom settings you relied on are back in place, or even better optimized for your current needs.
Always keep a backup of your configuration and stay on top of firmware updates.
A well‑maintained router is the backbone of a productive remote‑work environment, keeping your connections reliable, fast, and secure.
Happy working!
Discussion (8)
Join the Discussion
Your comment has been submitted for moderation.
Random Posts

Rebooting Google Nest Hub (3rd Gen) to Resolve App Sync Glitches
Stuck with delayed notifications, unresponsive tiles, or stale smart, home data? A simple reboot of your Nest Hub 3rd Gen clears cache, resets processes, and restores smooth app sync.
3 months ago

Fixing Bluetooth Signal Drops on Apple AirPods Pro
Tired of AirPods Pro disconnecting during walks or workouts? Learn why Bluetooth drops happen, how to spot them, and quick fixes - no coding required - to keep audio flowing.
11 months ago

Fixing the Duplexer Failure on a Brother MFC‑J805DW
Learn how to diagnose and replace a faulty duplexer on your Brother MFC, J805DW, restoring double, sided printing with step, by, step instructions for tech, savvy users.
10 months ago

Solving Apple iPhone 13 Pro Camera Rolling Shutter With External Lens
Stop the slanted look from rolling shutter when adding external lenses to your iPhone 13 Pro by tweaking camera settings, choosing the right lens, and using proper stabilization.
9 months ago

Restoring Bandwidth on Amazon Eero Mesh 6 Pro After a Firmware Update
After an Eero Mesh 6 Pro firmware update, bandwidth often drops. This guide explains why the change occurs and walks you through quick steps to restore full speed and a stable connection for work and play.
8 months ago
Latest Posts

Fixing the Eufy RoboVac 15C Battery Drain Post Firmware Update
Fix the Eufy RoboVac 15C battery drain after firmware update with our quick guide: understand the changes, identify the cause, and follow step by step fixes to restore full runtime.
5 days ago

Solve Reolink Argus 3 Battery Drain When Using PIR Motion Sensor
Learn why the Argus 3 battery drains fast with the PIR sensor on and follow simple steps to fix it, extend runtime, and keep your camera ready without sacrificing motion detection.
5 days ago

Resolving Sound Distortion on Beats Studio3 Wireless Headphones
Learn how to pinpoint and fix common distortion in Beats Studio3 headphones from source issues to Bluetooth glitches so you can enjoy clear audio again.
6 days ago