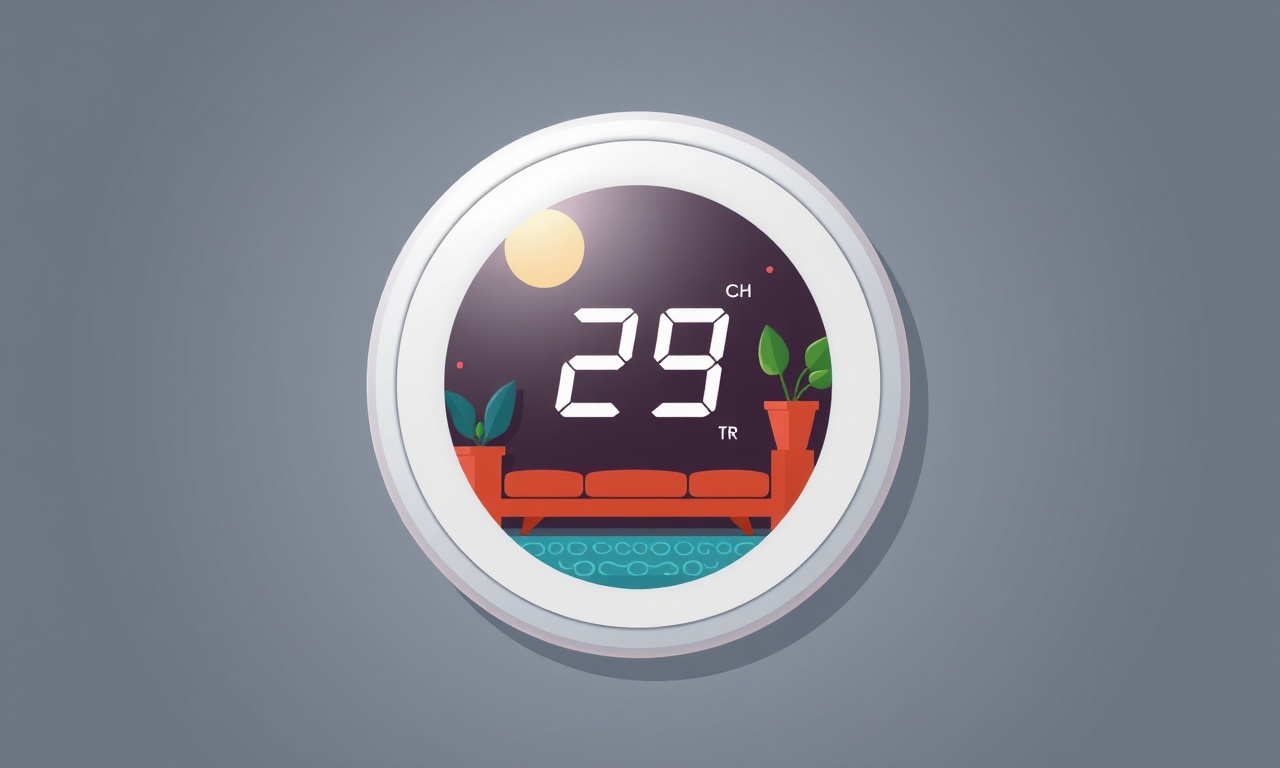
Honeywell Lyric Sensor Repair Steps for Temperature Display Errors
Introduction
Smart homes are becoming a staple in modern living, and central to that convenience is reliable sensor technology. The Honeywell Lyric thermostat and sensor system have earned a reputation for their user‑friendly design and robust performance. Still, as with any electronic device, faults can appear, and one common issue users face is a temperature display that either shows incorrect values or fails to update. This guide is a detailed, step‑by‑step tutorial to help you diagnose and fix temperature display errors on your Honeywell Lyric sensor. Whether you’re a seasoned DIYer or a newcomer to smart home tech, the instructions below will walk you through each stage of the repair process, ensuring your system is back to accurate readings in no time.
Common Causes of Temperature Display Errors
Before diving into the repair steps, it’s helpful to understand what typically leads to erroneous temperature readings on a Lyric sensor. Familiarizing yourself with these causes will guide your troubleshooting and save time.
- Loose or Corroded Connections – Over time, vibrations or thermal cycling can loosen the wiring between the sensor and the thermostat. Corrosion at contact points can also reduce signal integrity.
- Power Interruption or Low Voltage – The Lyric system relies on a stable 12‑volt power supply. Any drop can cause the sensor to misreport or freeze its display.
- Dirty or Opaque Sensor Surface – Dust, grime, or condensation can obstruct the temperature‑sensing element, leading to inaccurate readings.
- Firmware Outdated – Newer firmware releases often include bug fixes and calibration adjustments that correct display issues.
- Faulty Sensor or Internal Component Failure – The sensor’s internal IC or temperature sensor element may be defective or damaged.
- Incorrect Calibration Settings – In some scenarios, the thermostat’s calibration may be set incorrectly, especially after a factory reset or manual change.
With these possibilities in mind, you can approach the repair methodically.
Preparation: Gather Your Tools and Safety Precautions
Safety and readiness are paramount. Follow these preparatory steps before turning to the sensor.
- Disconnect the Power – Turn off the HVAC system at the circuit breaker or disconnect the thermostat’s power supply. Even if the thermostat is labeled “low‑voltage,” a short can still occur.
- Acquire the Right Tools – You will need:
- A Phillips‑head screwdriver
- A flat‑head screwdriver or precision screwdriver set
- A multimeter capable of measuring 12 V DC
- A clean, lint‑free cloth
- Isopropyl alcohol (90 % or higher)
- Replacement sensor (if needed)
- Check Warranty Status – If your device is still under warranty, note the warranty information before you open any covers. Opening the unit may void the warranty if not done per manufacturer guidelines.
- Read the Manual – Open the user manual for any model‑specific nuances. The Lyric thermostat comes with a quick‑start guide and an online FAQ that may already list your issue.
Step 1: Verify Power Integrity
A common cause of a malfunctioning display is low voltage or intermittent power. Use a multimeter to confirm that the thermostat is receiving the correct voltage.
- Locate the Power Input – On the Lyric thermostat, the power terminals are usually labeled “+12V” and “–12V.”
- Measure Voltage – With the system still powered (you can use a temporary connection to the thermostat’s power terminals), set your multimeter to 20 V DC. Touch the probes to the +12V and –12V terminals.
- Confirm – The reading should read approximately 12 V. A reading lower than 11 V or higher than 13 V indicates a power issue.
- Address Power Problems – If voltage is out of range, check the wiring in the HVAC control board, replace any damaged wires, and ensure the breaker is fully on.
If voltage is stable, proceed to the next step.
Step 2: Confirm Thermostat Calibration Settings
The Lyric thermostat allows you to set a temperature offset or calibration in the settings menu. An incorrect offset can cause the display to misrepresent actual temperatures.
- Access the Menu – From the thermostat’s main screen, tap “Settings,” then “Device Settings.”
- Find Calibration – Look for an option labeled “Temperature Offset” or “Calibration.”
- Reset Offset – Set the offset to 0 °F (or 0 °C if you use metric). A non‑zero offset will shift the displayed temperature away from the true sensor reading.
- Save and Exit – Confirm any prompts to apply the change and return to the main screen.
If the display still misreports, move to cleaning the sensor.
Step 3: Clean the Sensor
Dust or debris can interfere with the sensor’s ability to read ambient temperature accurately. A gentle cleaning can resolve many display errors.
- Remove the Sensor Cover – On the Lyric thermostat, the sensor is located in the base or on the back panel. Use the flat‑head screwdriver to loosen the mounting screws. Carefully lift the sensor cover.
- Inspect for Debris – Look for dust, grime, or condensation on the sensor’s glass or metal surface. Use a magnifying glass if necessary.
- Clean with Alcohol – Dampen a lint‑free cloth with isopropyl alcohol. Gently wipe the sensor surface, avoiding excessive pressure. Allow it to dry completely before reassembly.
- Reassemble – Place the sensor cover back on and secure it with the screws.
The cleaning process can often bring the display back into alignment.
Step 4: Perform a Factory Reset
If cleaning does not help, a factory reset may clear any corrupted settings that affect the display. Note that a reset will erase user preferences, so you will need to reconfigure your system afterward.
- Locate Reset Button – Some Lyric models have a dedicated reset button hidden behind a small panel or on the back. Others require a reset through the menu.
- Use the Menu Reset – Navigate to “Settings” → “System” → “Factory Reset.” Confirm the reset when prompted.
- Wait for Reboot – The thermostat will shut down and reboot automatically. Do not touch the device during this time.
- Reconfigure – After reboot, set up your thermostat again, including Wi‑Fi credentials, temperature schedules, and any smart integrations.
If the display remains faulty after a reset, the sensor may need a hardware replacement.
Step 5: Check Firmware Version and Update
Software bugs can also lead to display inaccuracies. Ensure you are running the latest firmware.
- View Firmware – In the thermostat menu, go to “Settings” → “System” → “Software.” Note the version number.
- Check Honeywell Support – Visit Honeywell’s support website or the Lyric app to see if a newer firmware version is available for your model.
- Update via Wi‑Fi – If an update is available, follow the on‑screen prompts to download and install it. Make sure the thermostat remains powered and within Wi‑Fi range during the update.
- Restart – After the update, the thermostat will reboot. Verify that the temperature display reads correctly.
Firmware updates often fix bugs that may be affecting the sensor’s readings.
Step 6: Test the Sensor with a Multimeter
At this point, if the display still shows incorrect temperatures, you should verify the sensor’s electrical output independently.
- Remove the Thermostat – Turn off the HVAC system again, unplug the thermostat, and open the panel as in Step 3.
- Identify Sensor Output – The sensor usually provides a voltage output that varies with temperature (typically a few hundred millivolts per degree). Refer to the model’s schematic for exact pin assignments.
- Measure Voltage at Output Pins – Set your multimeter to millivolt DC and measure the voltage between the output pins. Compare the reading against the temperature expected in the room.
- Interpret Results – If the voltage does not correspond to the expected temperature, the sensor is likely defective and needs replacement.
If the sensor appears functional, the issue might be internal to the thermostat board.
Step 7: Replace the Sensor (if necessary)
If diagnostics confirm a faulty sensor, replacing it will restore accurate temperature readings. This step requires a new sensor compatible with your Lyric model.
- Purchase Replacement – Obtain a sensor from Honeywell or a certified distributor. Keep the serial number handy for support reference.
- Disconnect Power – As before, ensure the HVAC system is off.
- Remove Old Sensor – Unscrew or unsnap the old sensor from the thermostat housing. Disconnect any wiring harnesses.
- Install New Sensor – Connect the new sensor’s harness to the thermostat’s input ports. Secure it in place.
- Reassemble – Replace the cover and screws. Reconnect power.
- Verify – Turn on the HVAC system and confirm that the temperature display updates accurately.
Step 8: Consult Honeywell Support
If all steps above fail to resolve the issue, it’s time to contact Honeywell.
- Call Customer Service – Reach out at the phone number listed in your user manual or on the Honeywell website. Have your model number, serial number, and a summary of troubleshooting steps ready.
- Use Online Chat – Some regions offer live chat support for quick assistance.
- Schedule a Technician – For advanced diagnostics or warranty service, Honeywell may dispatch a technician to your home.
Document every step you’ve taken; it may speed up the support process.
Troubleshooting Checklist
| Symptom | Likely Cause | Quick Fix |
|---|---|---|
| Display shows 0 °F always | Power loss | Verify voltage |
| Temperature jumps abruptly | Loose wiring | Tighten connections |
| Display shows consistent reading different from room | Calibration offset | Reset offset to 0 |
| Display updates slowly | Firmware bug | Update firmware |
| Display stops updating | Sensor failure | Replace sensor |
Use this checklist to quickly cross‑reference symptoms and potential solutions.
Safety Tips
- Always De‑energize – Never attempt to open or modify the thermostat while it is powered.
- Avoid Water – Keep cleaning liquids away from the thermostat’s electronic components.
- Respect Warranty Terms – Opening the unit may void warranty; proceed only if you are comfortable or have support permission.
- Use Correct Tools – Avoid over‑tightening screws; use appropriate screwdriver sizes to prevent stripping.
Conclusion
A temperature display error on your Honeywell Lyric sensor can stem from a range of causes—from simple power issues to deeper hardware faults. By methodically verifying power, resetting calibration, cleaning the sensor, updating firmware, and, if needed, replacing the sensor, you can often restore accurate temperature readings without professional help. The steps outlined above provide a comprehensive guide to troubleshoot and repair most display errors.
Remember, while the process may seem daunting at first, many homeowners find that a clear, step‑by‑step approach leads to success. Keep a spare sensor on hand for future emergencies, and maintain a routine check of your system’s firmware and power integrity. With a little diligence, your Lyric thermostat will continue to keep your home comfortable and your smart‑home ecosystem humming smoothly.
Discussion (9)
Join the Discussion
Your comment has been submitted for moderation.
Random Posts

Rebooting Google Nest Hub (3rd Gen) to Resolve App Sync Glitches
Stuck with delayed notifications, unresponsive tiles, or stale smart, home data? A simple reboot of your Nest Hub 3rd Gen clears cache, resets processes, and restores smooth app sync.
3 months ago

Fixing Bluetooth Signal Drops on Apple AirPods Pro
Tired of AirPods Pro disconnecting during walks or workouts? Learn why Bluetooth drops happen, how to spot them, and quick fixes - no coding required - to keep audio flowing.
11 months ago

Fixing the Duplexer Failure on a Brother MFC‑J805DW
Learn how to diagnose and replace a faulty duplexer on your Brother MFC, J805DW, restoring double, sided printing with step, by, step instructions for tech, savvy users.
10 months ago

Solving Apple iPhone 13 Pro Camera Rolling Shutter With External Lens
Stop the slanted look from rolling shutter when adding external lenses to your iPhone 13 Pro by tweaking camera settings, choosing the right lens, and using proper stabilization.
9 months ago

Restoring Bandwidth on Amazon Eero Mesh 6 Pro After a Firmware Update
After an Eero Mesh 6 Pro firmware update, bandwidth often drops. This guide explains why the change occurs and walks you through quick steps to restore full speed and a stable connection for work and play.
8 months ago
Latest Posts

Fixing the Eufy RoboVac 15C Battery Drain Post Firmware Update
Fix the Eufy RoboVac 15C battery drain after firmware update with our quick guide: understand the changes, identify the cause, and follow step by step fixes to restore full runtime.
5 days ago

Solve Reolink Argus 3 Battery Drain When Using PIR Motion Sensor
Learn why the Argus 3 battery drains fast with the PIR sensor on and follow simple steps to fix it, extend runtime, and keep your camera ready without sacrificing motion detection.
5 days ago

Resolving Sound Distortion on Beats Studio3 Wireless Headphones
Learn how to pinpoint and fix common distortion in Beats Studio3 headphones from source issues to Bluetooth glitches so you can enjoy clear audio again.
6 days ago